What is a low-maintenance garden?
Creating a beautiful but low-maintenance garden is every gardener’s dream, being able to sit outside and enjoy the space without noticing the chores still to be done. So what is a low maintenance garden, how can you design and create a garden that minimises chores? Well it’s actually very simple, you just need to know yourself.
All a low maintenance garden is; is one that minimises those chores YOU don’t like doing.
use the buttons below to skip to the information you need. Or use the search bar
Low-maintenance garden design
Your idea of a low-maintenance garden will not be the same as someone else’s. There is no formula that can be applied to your garden to create one, so if you would love to spend less time on garden chores, how do you go about doing that?
First, let’s debunk a misnomer, low maintenance does not mean NO maintenance. In fact, the only way to ensure you don’t spend time gardening is if you hire a gardener.
So if you have a garden, you are going to have to get dirty and do some gardening, it’s just a question of how much and how often.
This article contains lots of advice to help reduce the time you spend gardening.
Gardening Chores
You need to understand what you like and more importantly dislike about gardening. Make a list of all those elements, then you will know what to include and what to avoid!
- Prioritise the dislikes
What part of gardening do you hate the most? It could be raking leaves or fiddly weeding. If you know what your worst jobs are; the new garden design created needs to ensure you won’t be doing them.
- Focus on the parts of gardening you like
If the garden work you have to do is ‘stuff’ you don’t mind doing, then by definition it won’t feel like a chore!
- Lastly – Work WITH your environment and weather
Keeping unwanted chores to a minimum is all about making sure the materials and plants used work with your garden.
Planning how to reduce those unwanted chores
We all dream of spending lazy summer afternoons sitting in the garden and watching the world go by. Sadly, most of the sunny afternoons end up being spent weeding, watering and mowing. But with a little planning, reducing the time you spend on unwanted garden chores is possible. So how do you go about it?
The aim is to reduce the time you spend doing stuff you don’t like doing. So take a look at your garden, and jot down how much time and effort you spend on certain tasks.
Aim for 80% of your garden requiring only annual attention or a few minutes a week spent tidying it up.
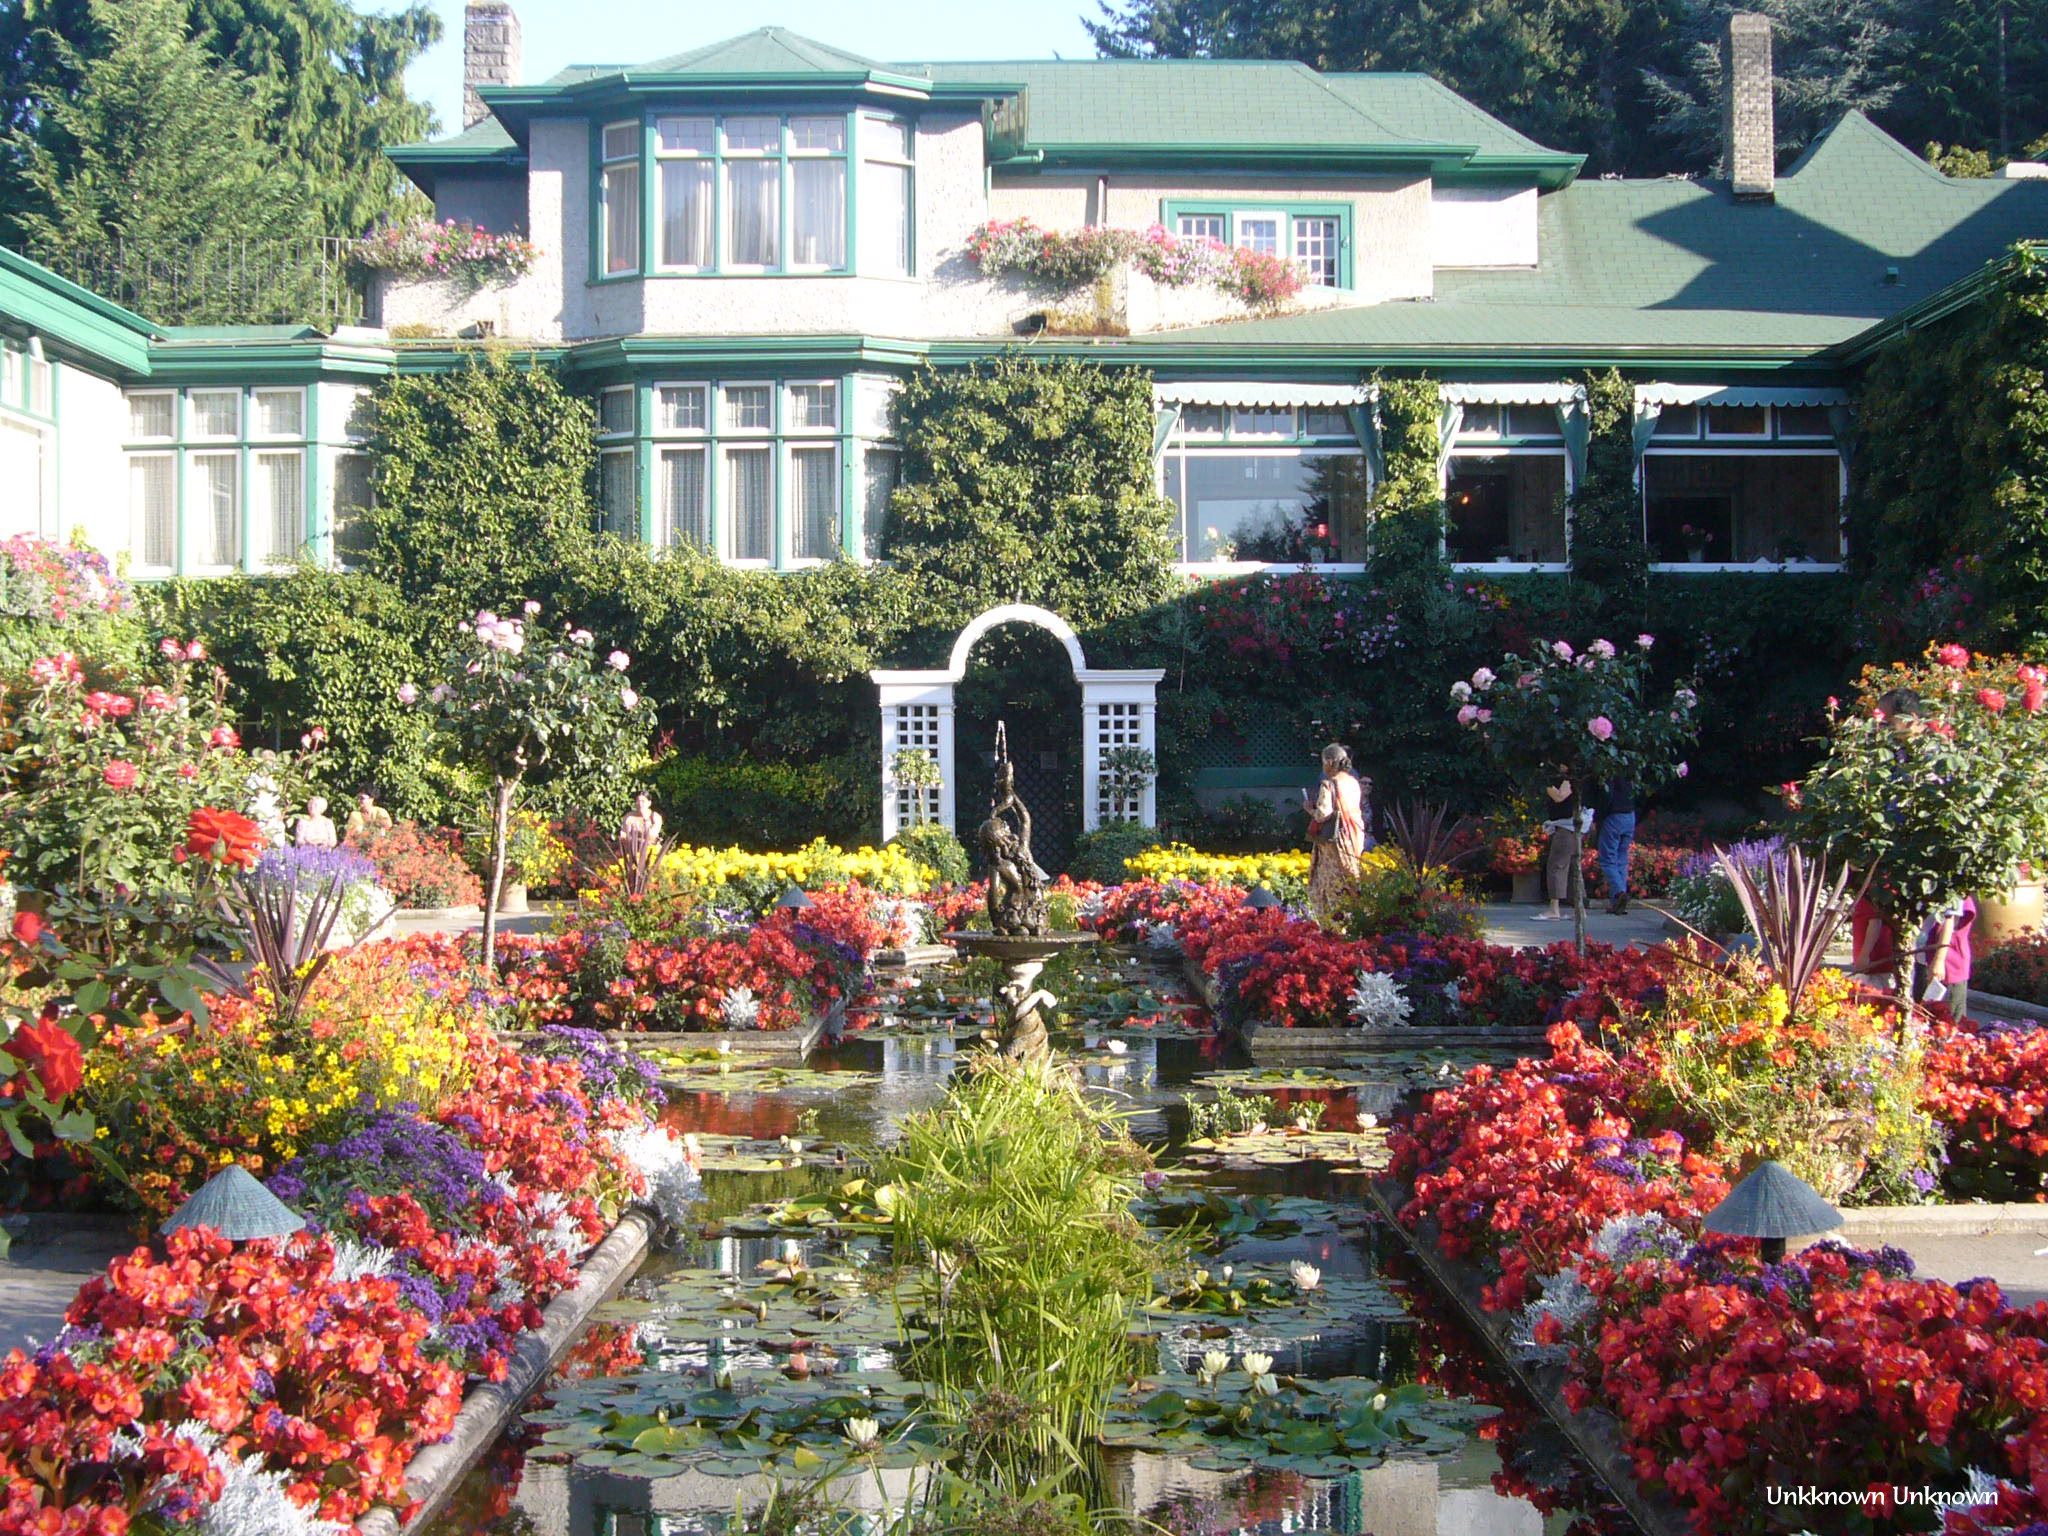 This house owner is a garden lover, there are lots of plants that require regular attention, which is fine if you love gardening.
Once you have seen which elements of the garden require regular bursts of activity, you also need to consider how long each activity takes. In the image below, there are large hedges and a box parterre. The hedging may only require clipping twice a year, but if it takes several hours each time, you can decide if really sharply clipped hedges are your thing!
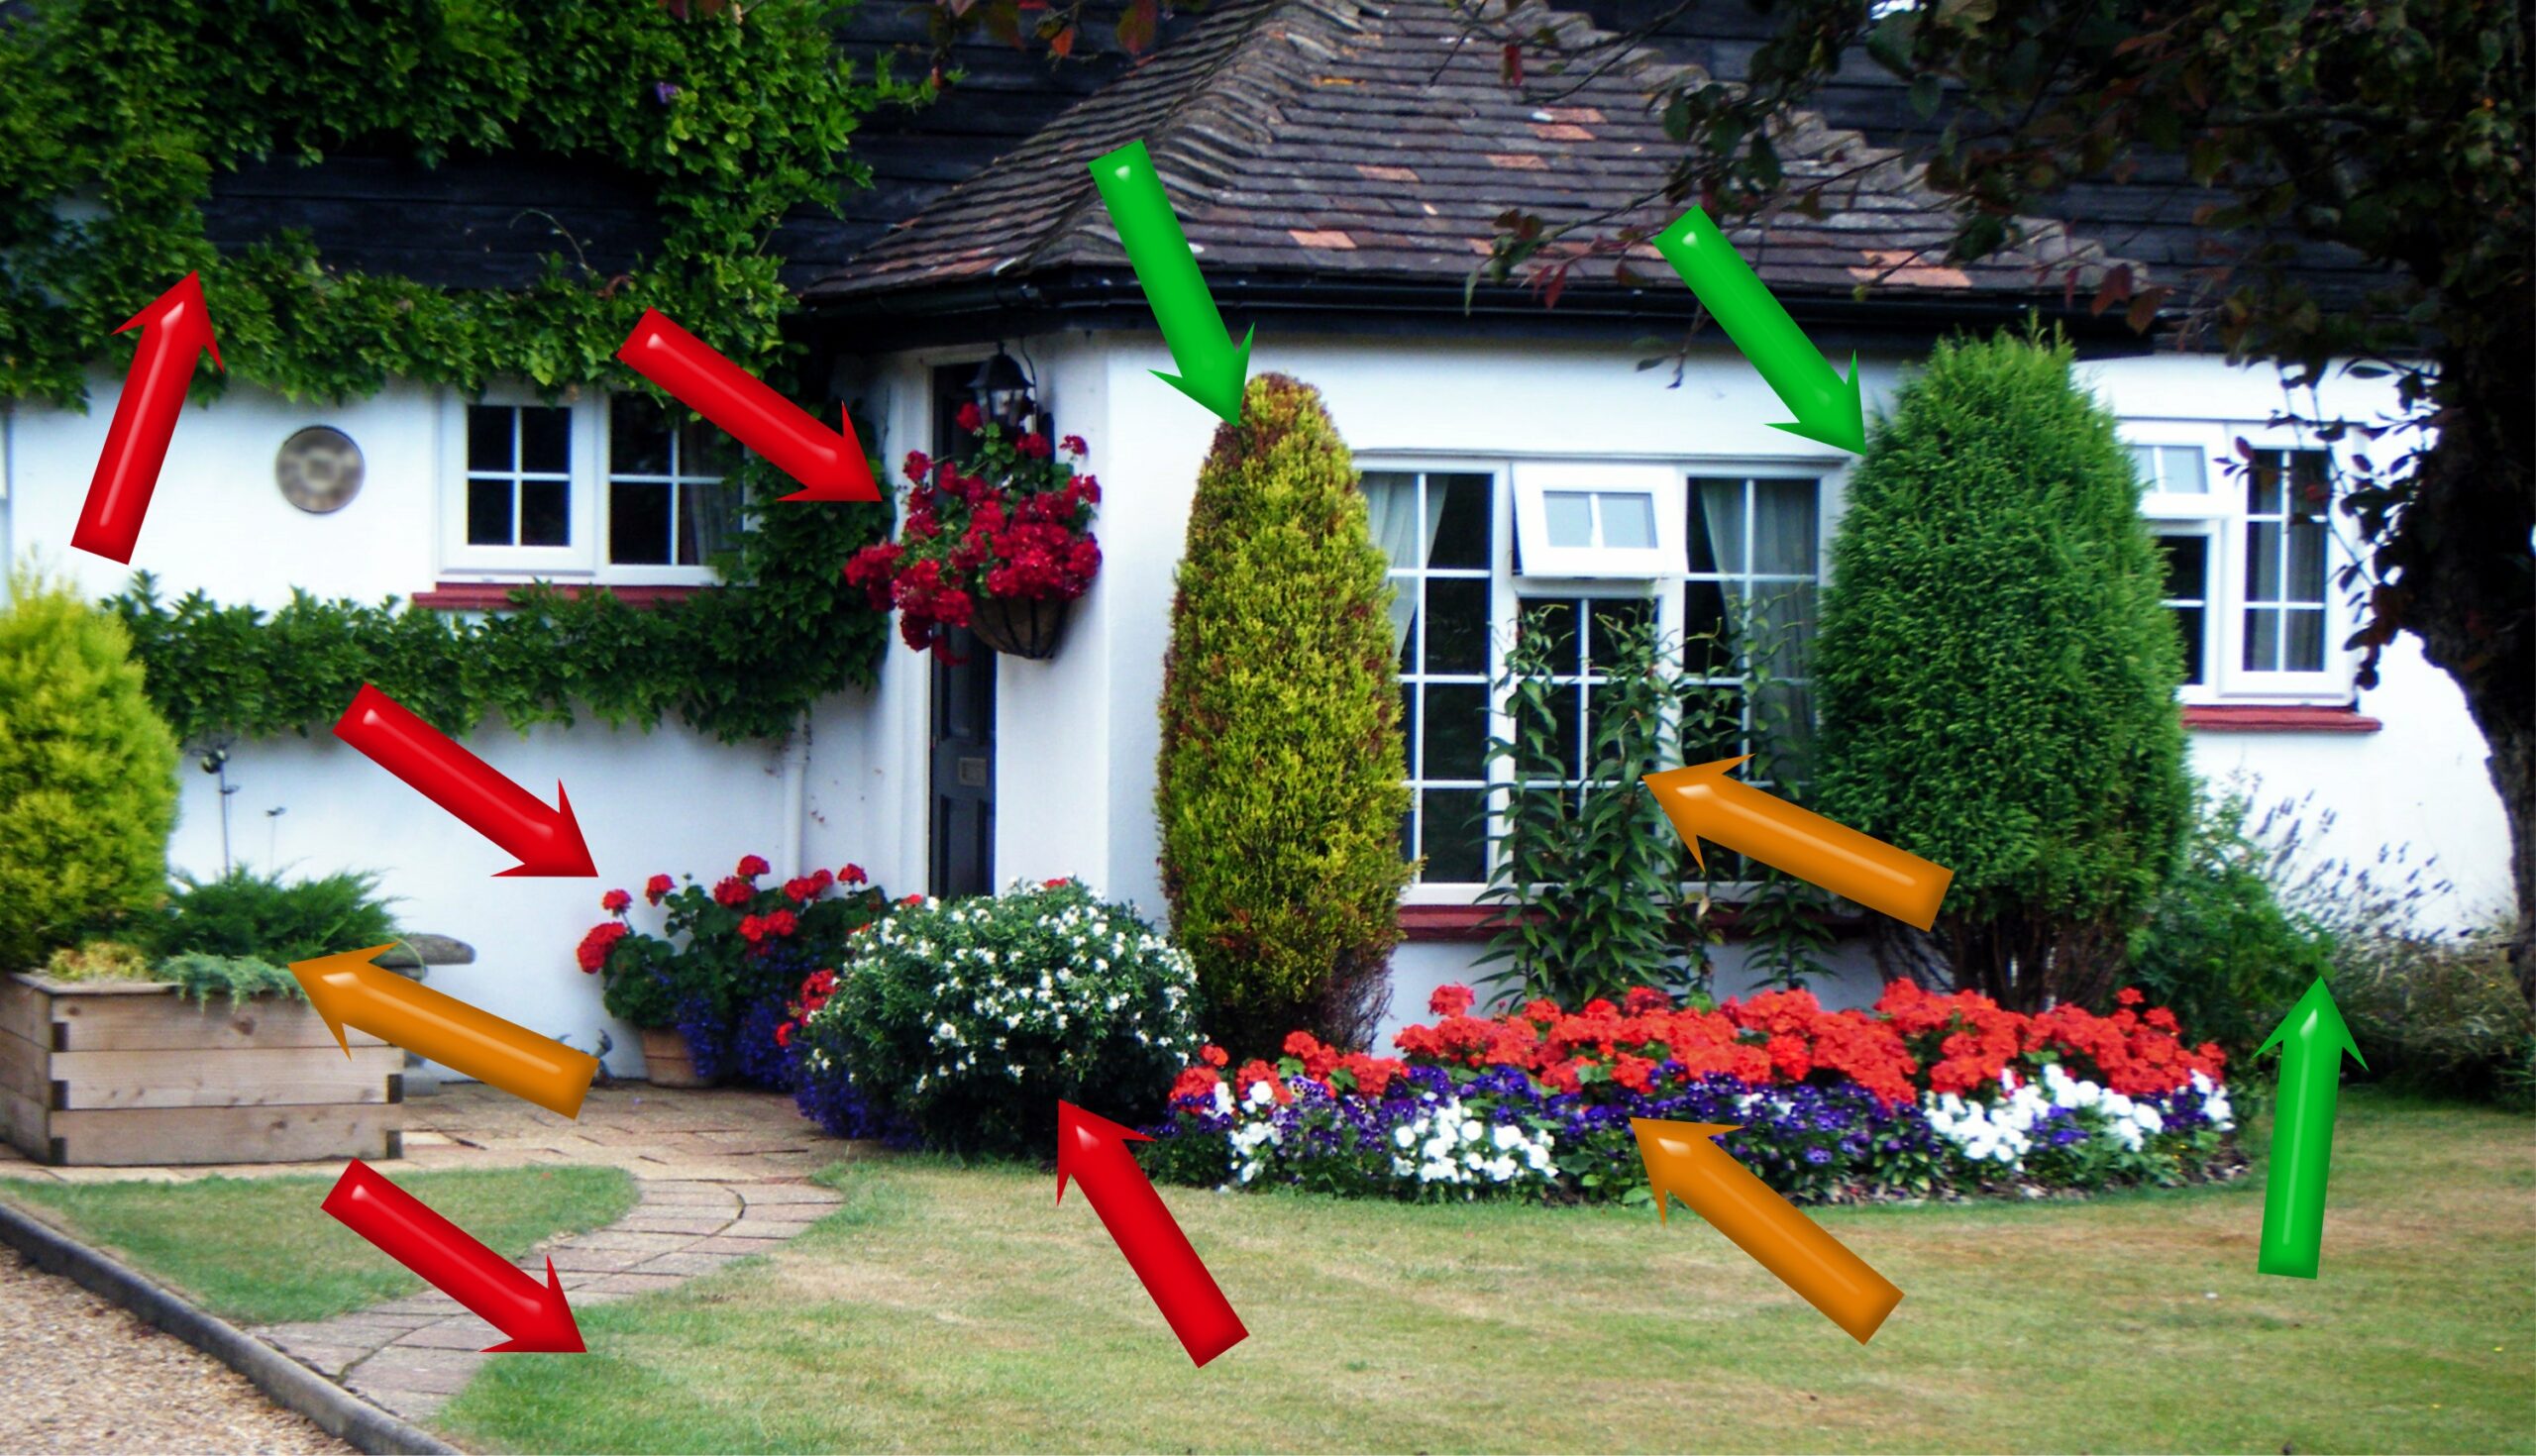
Size is not the key determinant of the amount of time you spend gardening, although it obviously is still relevant, the types of plants you have are also crucial.
The main workload in the image below comes from keeping the grass cut and the border edges neat. The rest can be tackled pretty much with one day’s gardening a year and a few little trips in between to deadhead the roses.
 So you have identified those elements of the garden that are either regular chores or take up an inordinate amount of time that you would prefer doing something much more enjoyable!
The best tip of all
Reevaluate HOW and WHY you do what you do.
This is very simply a cost-benefit analysis for the garden, and it starts with you asking yourself some questions.
- Why is it important for the grass to be free of all weeds?
- How much better will our use of the garden be IF the lawn is perfect, green and lush and has no moss or weeds?
- If there are aphids on some plants how is that going to personally cause you a problem?
- What bad things would happen if you didn’t cut the grass
- How would your life change if you decided not to have plants that needed gardening attention like Roses for example
- What is it about a totally weed-free border or blemish-free plant that improves your life significantly?
OK, so I know these questions are a bit loaded, but the point is this; Challenge why you garden the way you do. If there isn’t a personal benefit gained – why work at it?
Gardens that are good at looking after themselves are by definition low maintenance.
Garden Borders
What causes unnecessary maintenance?
Take this border; it may have been planted with a number of ‘easy-care’ and low-maintenance shrubs, but collectively it will cause an awful lot of work to keep it looking manicured.
In the garden, most of your time will be taken up with:
- Clipping and Pruning
- Tying things up or stopping plants from flopping over
- Weeding
- Watering
- Deadheading
- Stopping one plant taking over the garden.
- Looking after plants that can’t look after themselves
- AND lastly but most time-consuming of all MOWING THE LAWN
Creating your list of dislikes is a much better way to start planning any garden border, at least you know you are reducing the unwanted chores before you plant anything. There are however some rules of thumb, to bear in mind, which I have listed below.
If you are going to plant and you want to minimise the maintenance,
Shrubs:
- Use evergreen shrubs (fewer falling leaves)
- Avoid thorns…
- Check the size in 5, if it will be 10ft tall in 5 years, then it grows pretty fast and will need constant trimming.
- If it says the diameter of the plant will be 80cm for example, then plant it at least 40 cm away from a wall or fence.
- Don’t squash shrubs into tight spaces, like a skirt that’s too small – you’ll end up with a ‘muffin-top’!
Climbers:
- Use self-clinging ones – so you don’t have to constantly tie in tendrils.
- Make sure the trellis is big and sturdy enough. A plant won’t get to the end of your trellis and stop – it will keep on growing and flop over the end.
- Hang the trellis onto a bracket attached to the wall. This leaves space for growth and you can lift the trellis off the wall if you need to.
- Don’t mix different climbers on the same trellis – unless one is an annual that will die after one season.
- Plant a climber in a space that fits the ultimate size. Montana Clematis for example will swamp most garden trellis or arches in a very short time.
Plants:
- Keep bedding and annual plants to a minimum
- Avoid overbred flowers or overly large flowers – they require lots of food and water to keep performing.
- Use bulbs rather than bedding plants to fill up spaces
- Look for an AGM medal on the plant label – it will be a good performer and have better disease resistance.
- Avoid tender perennials – these will need winter protection to stay alive in winter.
Pots:
- Use larger pots – small ones dry out too easily
- In sunny spots use water-retaining granules in the soil.
- Use a mixture of topsoil and compost, plants grow better in soil.
- Raise the pots off the ground to help with drainage.
- Have a pot collection in one place, watering is quicker.
- Mix slow-release fertiliser into the soil mix before you plant, then it’s done and you won’t have to remember to liquid feed every week.
The Ground:
- Weed properly BEFORE planting anything. Yanking off the weed leaves will not kill the weed, you need to dig them out.
- If the soil is really poor and you don’t want to add lots of compost or manure, then choose plants that thrive in tough places or those that have shallow root systems like grasses that won’t need much extra food.
- Bare soil around plants is fine, if you pack too much in, then all the plants compete for light, space and food and only the toughest (normally weeds) win. So give your plants space to get going. Any weed seeds are easy to see and quick to remove.
- Don’t let anything set seed unless you want more of them. 1 plant can set thousands of seeds, weeds throw out millions, so snip off seed heads before they ripen.
Plants grow best if they are happy with the conditions.
So sun lovers will be limp and feeble if stuffed in a shady corner. Similarly, plants that love rich moist soil will look decidedly hungover if planted in a sun trap. All of which means you have to tend to them more often or they die. The result, you spend more money and time sorting it out.
Having said that, some plants will go on the rampage if you plant them in perfect conditions and so are best avoided. These tough plants do have a place, but generally, you only plant them where weeds are currently thriving and then they are brilliant!
The upshot is this – if you get the conditions right for the plant, it will grow more strongly, it will grow into the shape it’s supposed to be and at the right speed. The stems will be less floppy and it will produce better flowers.
The plants will tend to look after themselves, so you don’t have to!
You need a plan before you plant. Look at the size a plant will become not the size it is now. Filling up the border with the small plants you have bought is not a good approach.
If the border is only 2m square, then you need to select plants that over time will fill up that 2m sq. Use bulbs for infills, especially small plants like crocus, snowdrops, alliums and narcissus. These are narrow plants that don’t fill ground space too much, but do fill the air above with colour!
Learn from the mistakes of others
The first design mistake
made is the garden style or look is decided, before your likes and dislikes are worked out.
IF for example, you choose a minimalist garden style, all the design and planting decisions will be based around creating that look.
The problem is that Nature doesn’t understand minimalism. Even though you want a clean uncluttered look, the environment surrounding the garden won’t help out.
Leaves will get blown in and collect in corners, detritus will be dropped from trees. Annoyingly also, birds always seem to have the knack of pooping on the paving stones! The real question that needed asking was:
‘If you want to have a minimalist garden style, what in YOUR garden will spoil it?’
Grass growing over the paving stones blurring the nice straight lines. Plants flopping over the path, making it look untidy for example.
You need to find solutions that work rather than impose a design style ON the garden. In this instance, maybe the grass is planted below the level of the path, so it can’t grow over it. Or in the case of flopping plants, the borders are planted with a neat low hedge supporting the plants.
Learn from others
Friends and neighbours can be valuable sources of useful advice, prevention is always better than cure. This is especially true if you are about to spend money on hard landscaping.
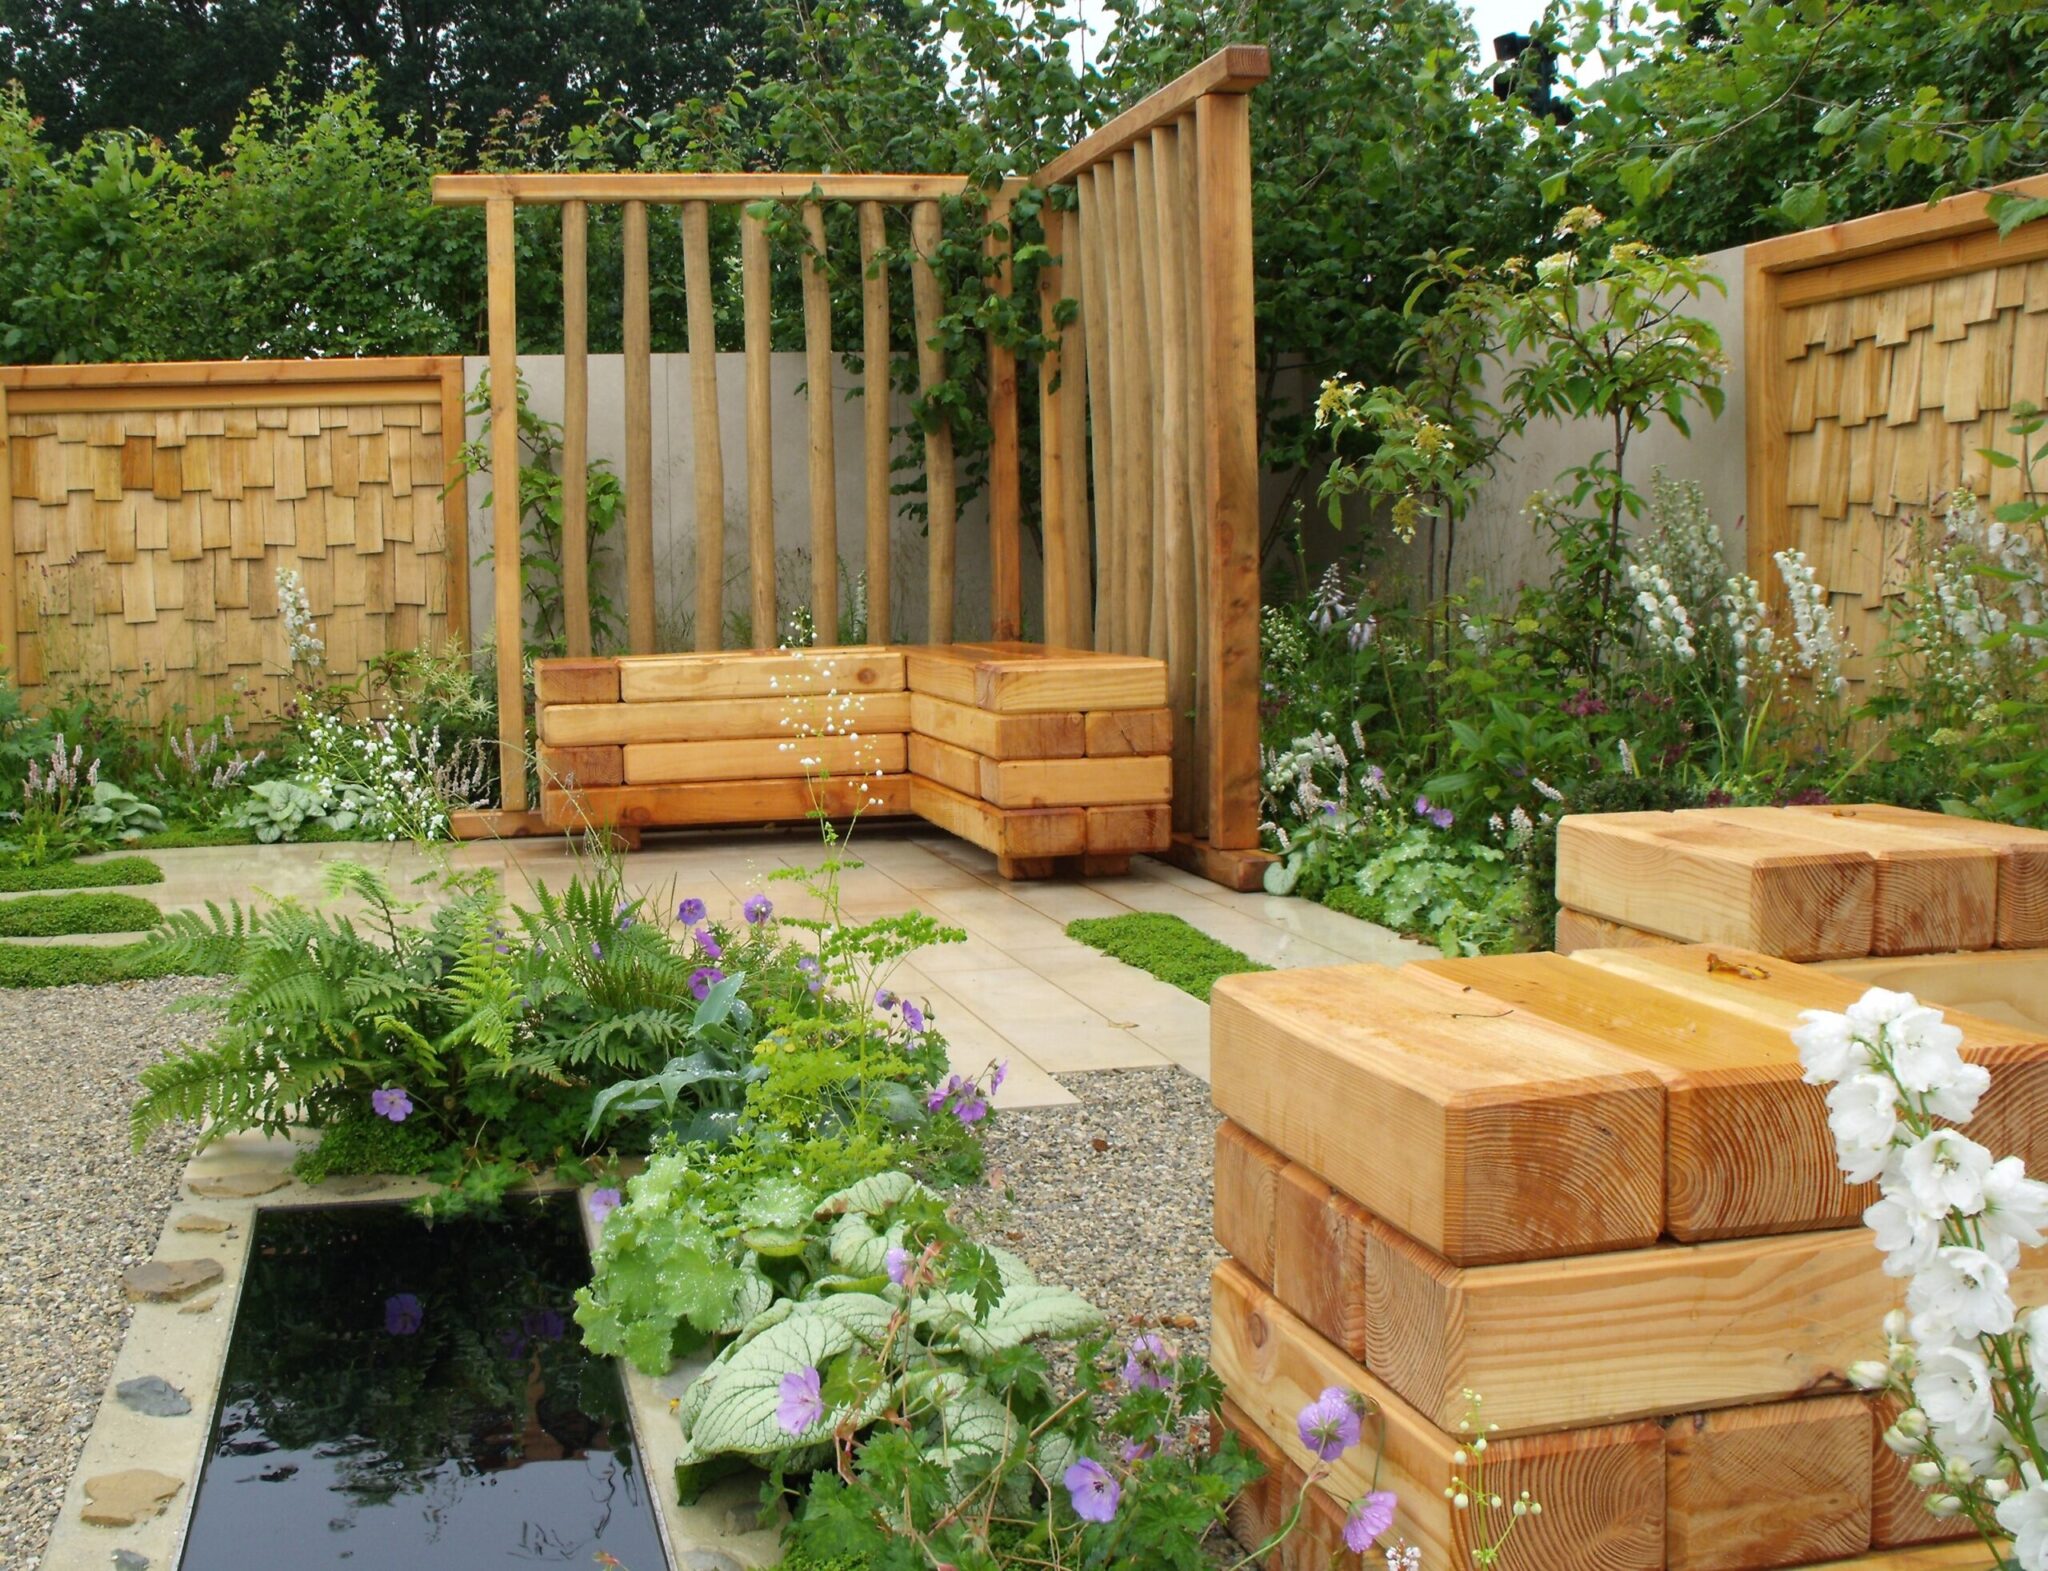
Patios and Paving
Paving is expensive to put down and even more expensive to put right.
Drainage – where will the rainwater run off to and can it handle it, does the paving drain water away quickly or are you left with puddles?
Shade – will the paving become slippery when wet or get covered in slippery green algae from being shaded?
Sunshine – will the slabs get too hot to walk on?
Trees & Birds – apologies for being crude, but droppings! Fruit droppings, bird droppings even fruit-coloured bird droppings. Is paving the right surface for here?
Joins/Mortar – what to have; sand is cheaper but prone to weed seedlings popping up, concrete costs more but also costs more to repair if it cracks
Roots – there is nothing worse than roots that get under the patios, they are so difficult to get rid of. Have you really dug out any unwanted invaders before you lay any slabs?
 Lastly, think about the planting around patios, especially if you use sand as a base, you don’t want lots of self-seed experts upwind of the patio!
Shingle or Decorative Stones
Shingle covers a multitude of sins and is quick and easy to use, but there are pitfalls to shingle.
Trees – trees always drop lots of stuff, twigs, seeds, and leaves. You can rake
shingles easily, but wet leaves and small seeds are more difficult to
rake and pine needles are impossible to remove from the shingle!
Membranes – if you don’t want weeds growing up through the shingle, you can put down a weed membrane. This is great if you don’t want to plant anything else in that area, but is not a good idea if you want to plant bulbs for example!
If you add shingle on top of bare soil, then over time, the shingle will sink
into the soil, so regular top-ups of stone will be needed.
Paths – shingle paths are not nice to walk on. If you have them near your doors, be prepared for shingles to appear in the house too.
Decorative Stones – look fantastic, but are a devil to keep looking fantastic especially in the shade or under deciduous shrubs and plants. White pebbles will also quickly go green.
Decking
Some years ago, decking was everywhere, a wooden deck is admittedly, lovely to walk
on barefoot. If you are considering decking, then do consider the following before you start.
Shade – decking is great in full sun, but extremely slippery in shaded areas.
Vermin – rats can move in under the raised deck, they are attracted to leftover BBQ food, so ensure you can access underneath the deck if it becomes necessary.
Weeds – you must make sure the ground under the deck is properly weeded before you build the decking. It is so annoying for perennial weeds to keep growing through the gaps.
Creating the right garden for you starts with understanding what you want it to do for you. It may be you love lots of flowers but hate mowing, in which case large areas of lawn in the garden would not create the low-maintenance garden you are after.
You know what you want, use these ideas to change your garden around so that you can minimise the impact of the negatives but maximise the positive. You may need to be a bit radical, but if you really hate mowing lawns, why have one?
Gardens are spaces that should be enjoyed, not places for you to do even more chores.
Planting in Pots
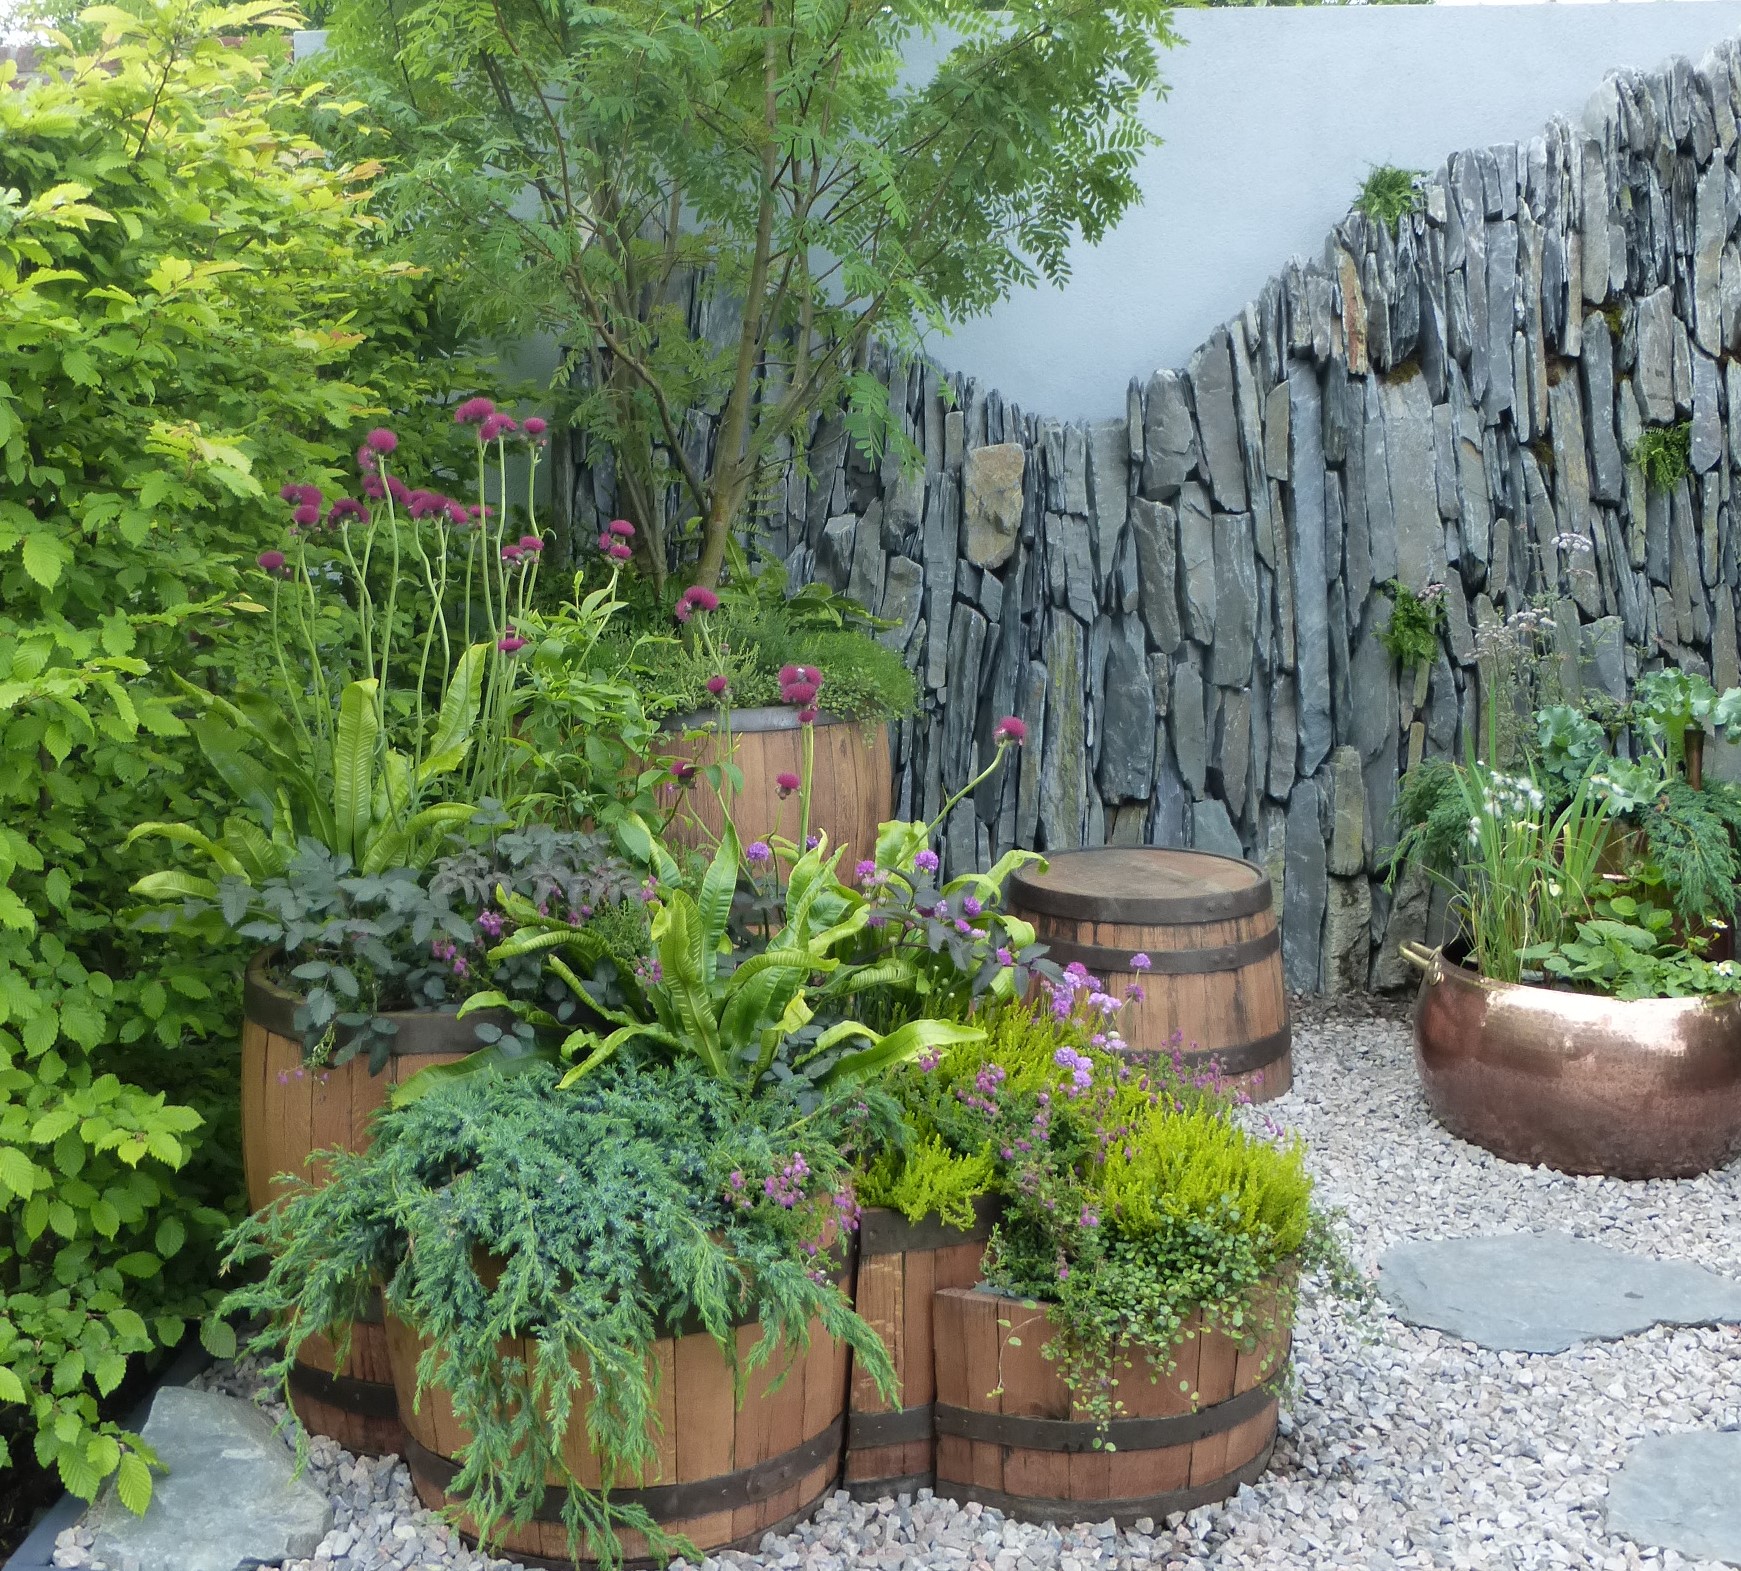
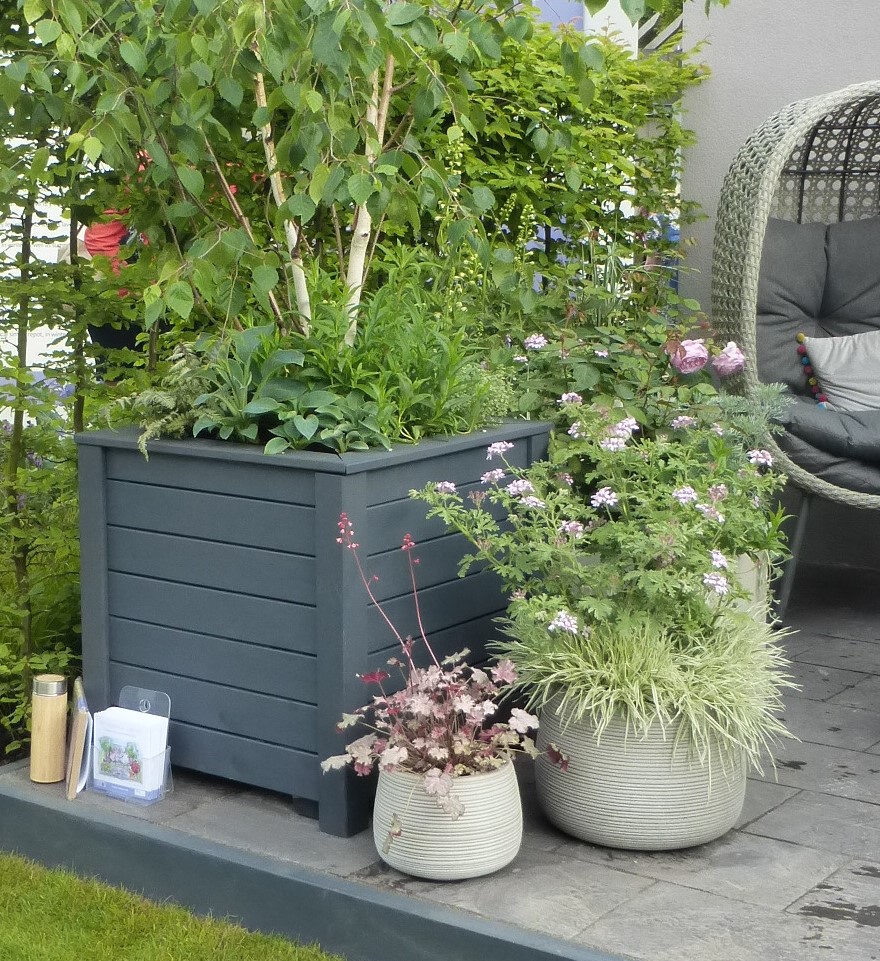
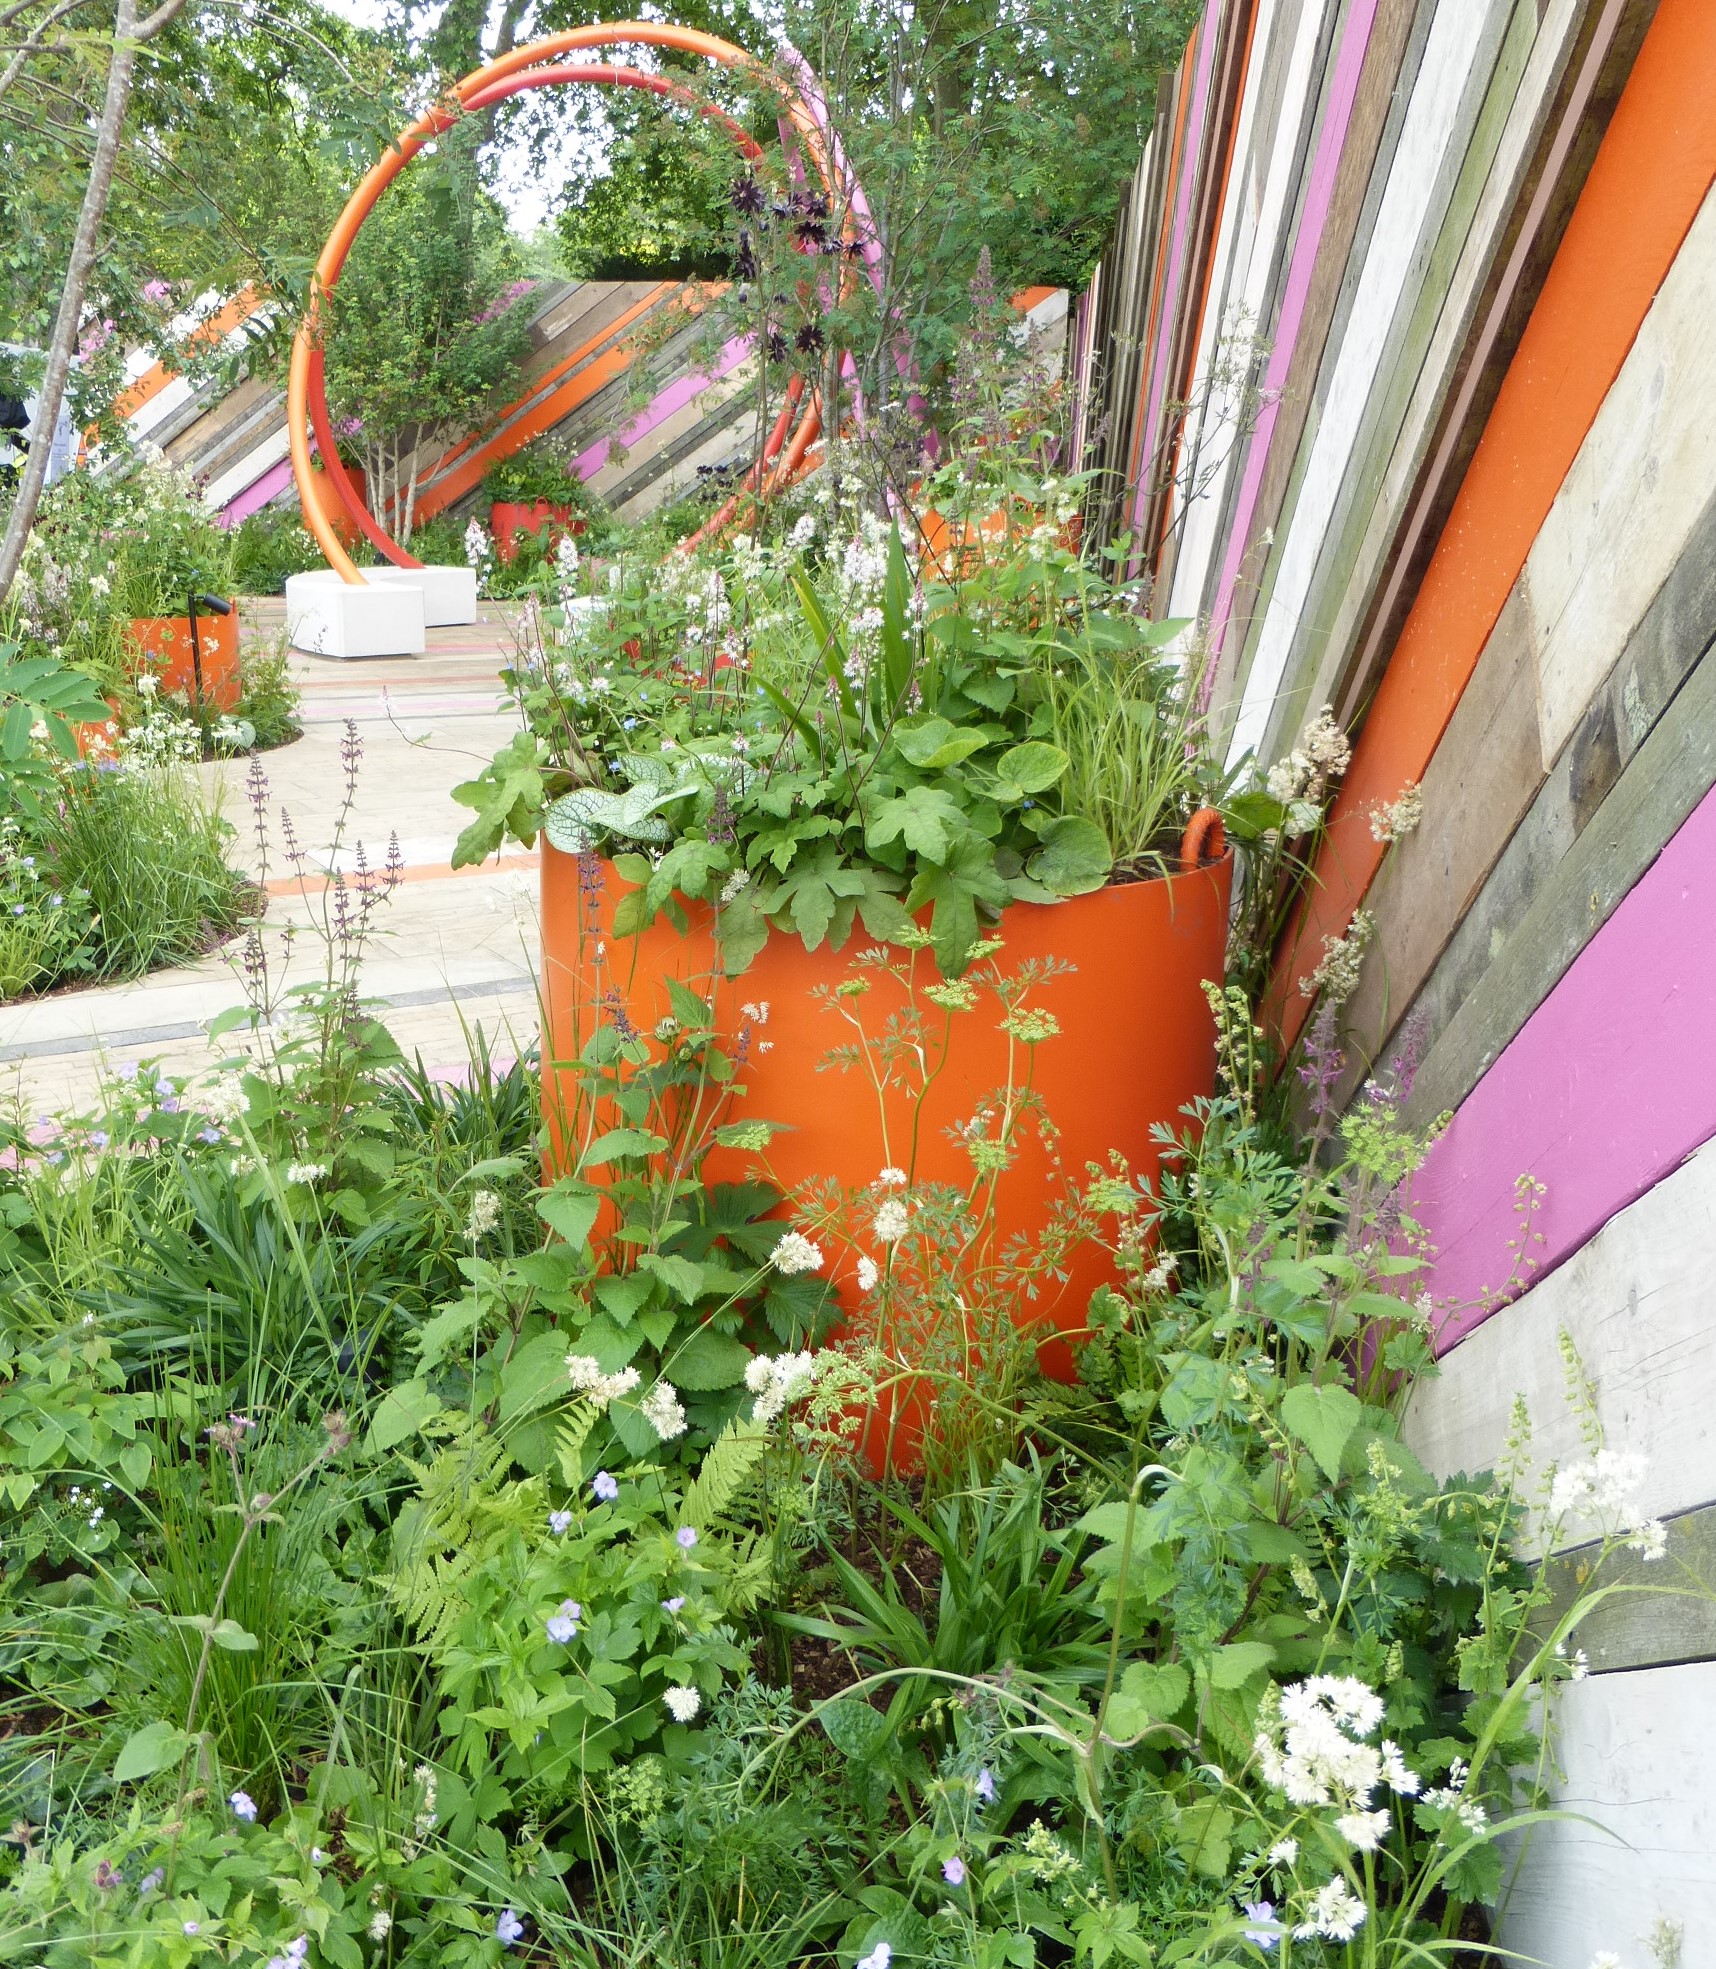
Low Maintenance Planting for Pots
This is a bit of a misnomer; planting in pots will always be more labour-intensive than planting in the soil. Plants never evolved to grow in a pot!
What type of Pot?
Gone are the days we could only have terracotta pots, now you can get any shape any size and almost any material – so which are best?
You need to know the conditions your pot will be in in order to pick the best material. For example, if you have a sunny patio, then thin metal planters are going to absorb lots of heat and cook the roots of the plants, or if you have a plot that is prone to frost, thin terracotta pots will easily crack and break.
So the rules are this:
- In hot sunny sites, use pots that have good thermal insulation, like wood or terracotta and avoid dark colours that will absorb more heat.
- Wooden pots and planters must have a liner or inner pot, to prevent the wood from becoming rotten.
- Metal pots must have a layer of insulation inserted, otherwise both the sun and the frost will cook and freeze the roots that curl around the edge of the pot.
- Plastic or fibreglass pots are lighter and so should have some ballast added to the bottom of the pot to prevent them from falling over.
- For Stone or large pots try to use castors under the pot before you plant. You will want to move the pot at some point – and you don’t need a hernia doing it!
- Urns or Round pots look lovely, apart from when you need to re-pot or remove a plant. Getting an established plant out of a pot with a narrow neck without breaking the pot is tricky. So either insert a pot that sits in the neck of the urn or only plant in pots that are wider at the top.
- Terracotta pots, the cheaper ones aren’t usually frost-hardy and are prone to cracking in winter. If you are investing in a nice pot, make sure it is – the rims usually break first.
Have enough holes
All pots need drainage holes, sadly many modern pots don’t seem to have them. Whilst this does prevent muddy puddles, it also drowns the plants. Make sure there are 3-4 holes in the base. And if you have a large plant in a pot, check the roots aren’t blocking the holes up too. In winter, raise the pots off the ground a little to prevent soggy bottoms!
Get the right filling.
The problem with multipurpose compost is that it’s just that – multipurpose. Your planted pots are going to need a bit more to grow well and stay looking good.
- Multipurpose compost dries out really easily – which means more watering.
- Once dried out this compost is hard to rehydrate, the compost shrinks and compacts making it hard to absorb the water.
- Overly rich composts can cause plants to grow fat and or floppy. The rich soil encourages green-leafed growth and not the production of flowers.
- Multipurpose compost is not good if you are planting perennials or shrubs, i.e plants you want to last. The compost loses any mineral elements pretty quickly so the plant is left starving and looking decidedly peaky.
So what to do?
- Mix 2/3 topsoil with 1/3 compost in a potting mix. Plants know how to grow in the soil, the compost just lessens the weight. Soil takes longer to dry out than compost and it holds nutrients better, so your plants will grow better for longer.
- If you have plants that thrive in poor soils you can use a mix of topsoil, compost and also sand or grit or some subsoil. The plant will grow lean and mean, so it shouldn’t flop, or droop and should produce more flowers!
- For plants that love rich moist soil, add water-retaining granules, topsoil, compost and manure to give the plant the best start.
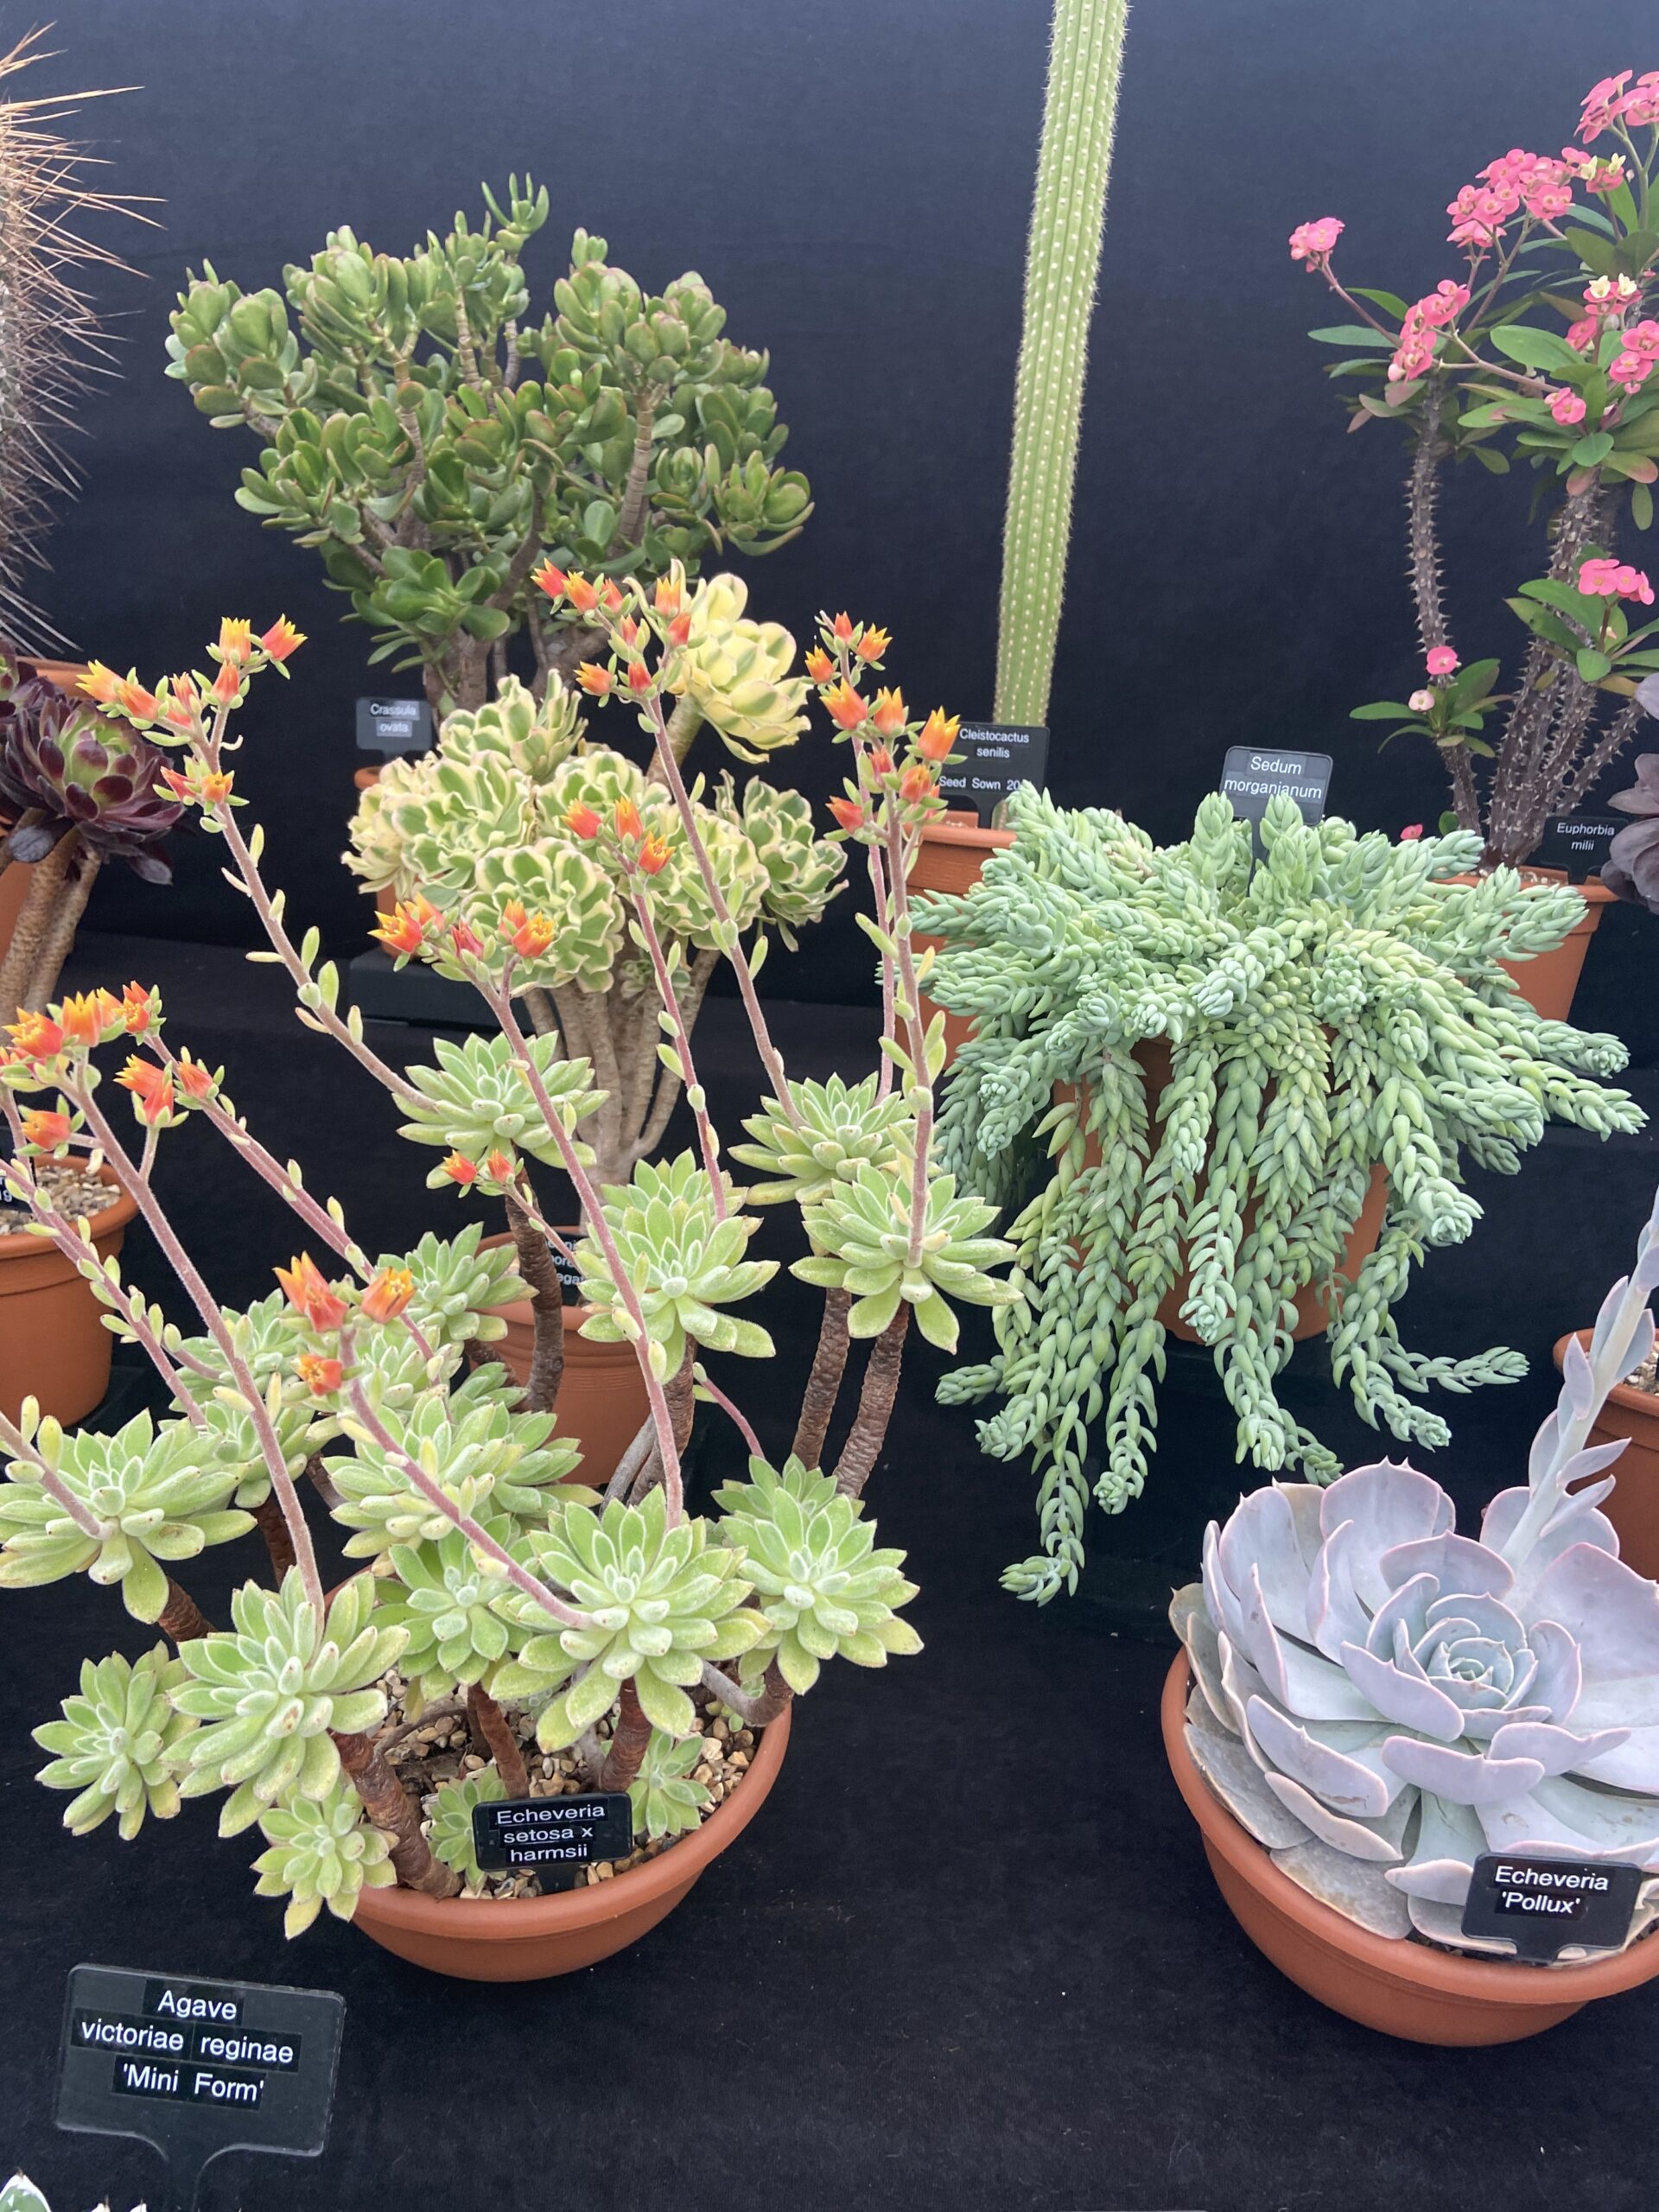
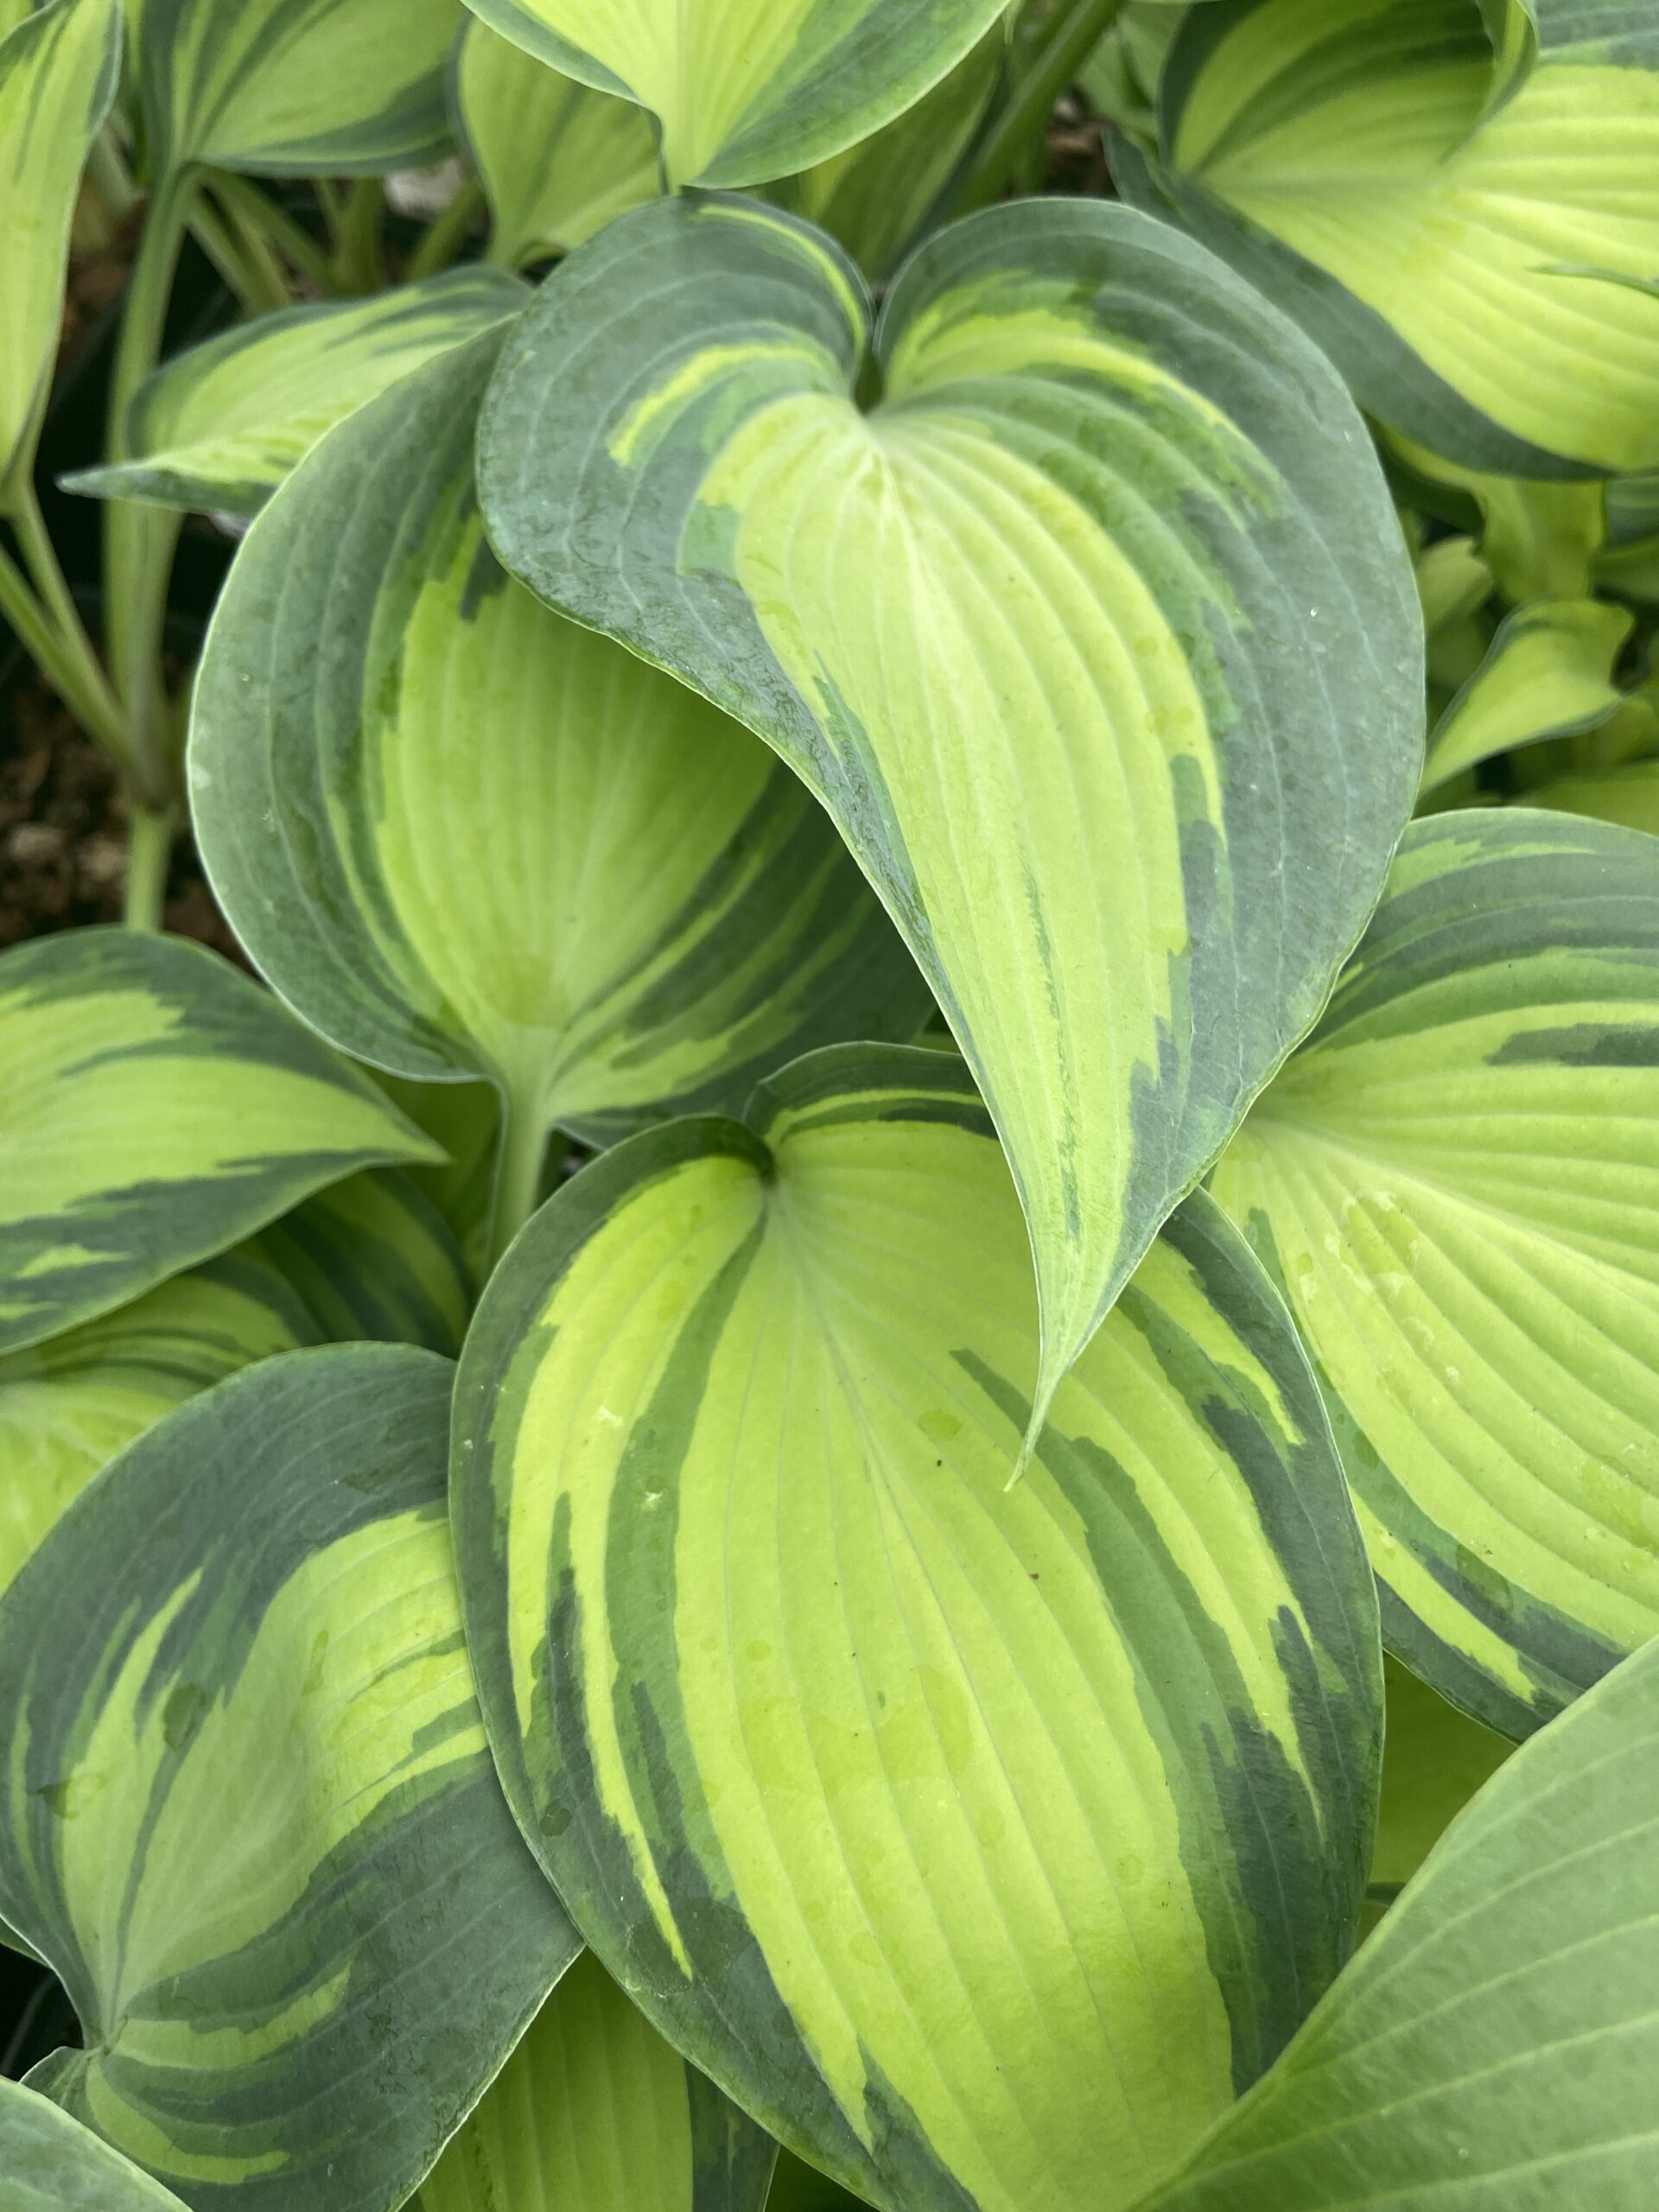
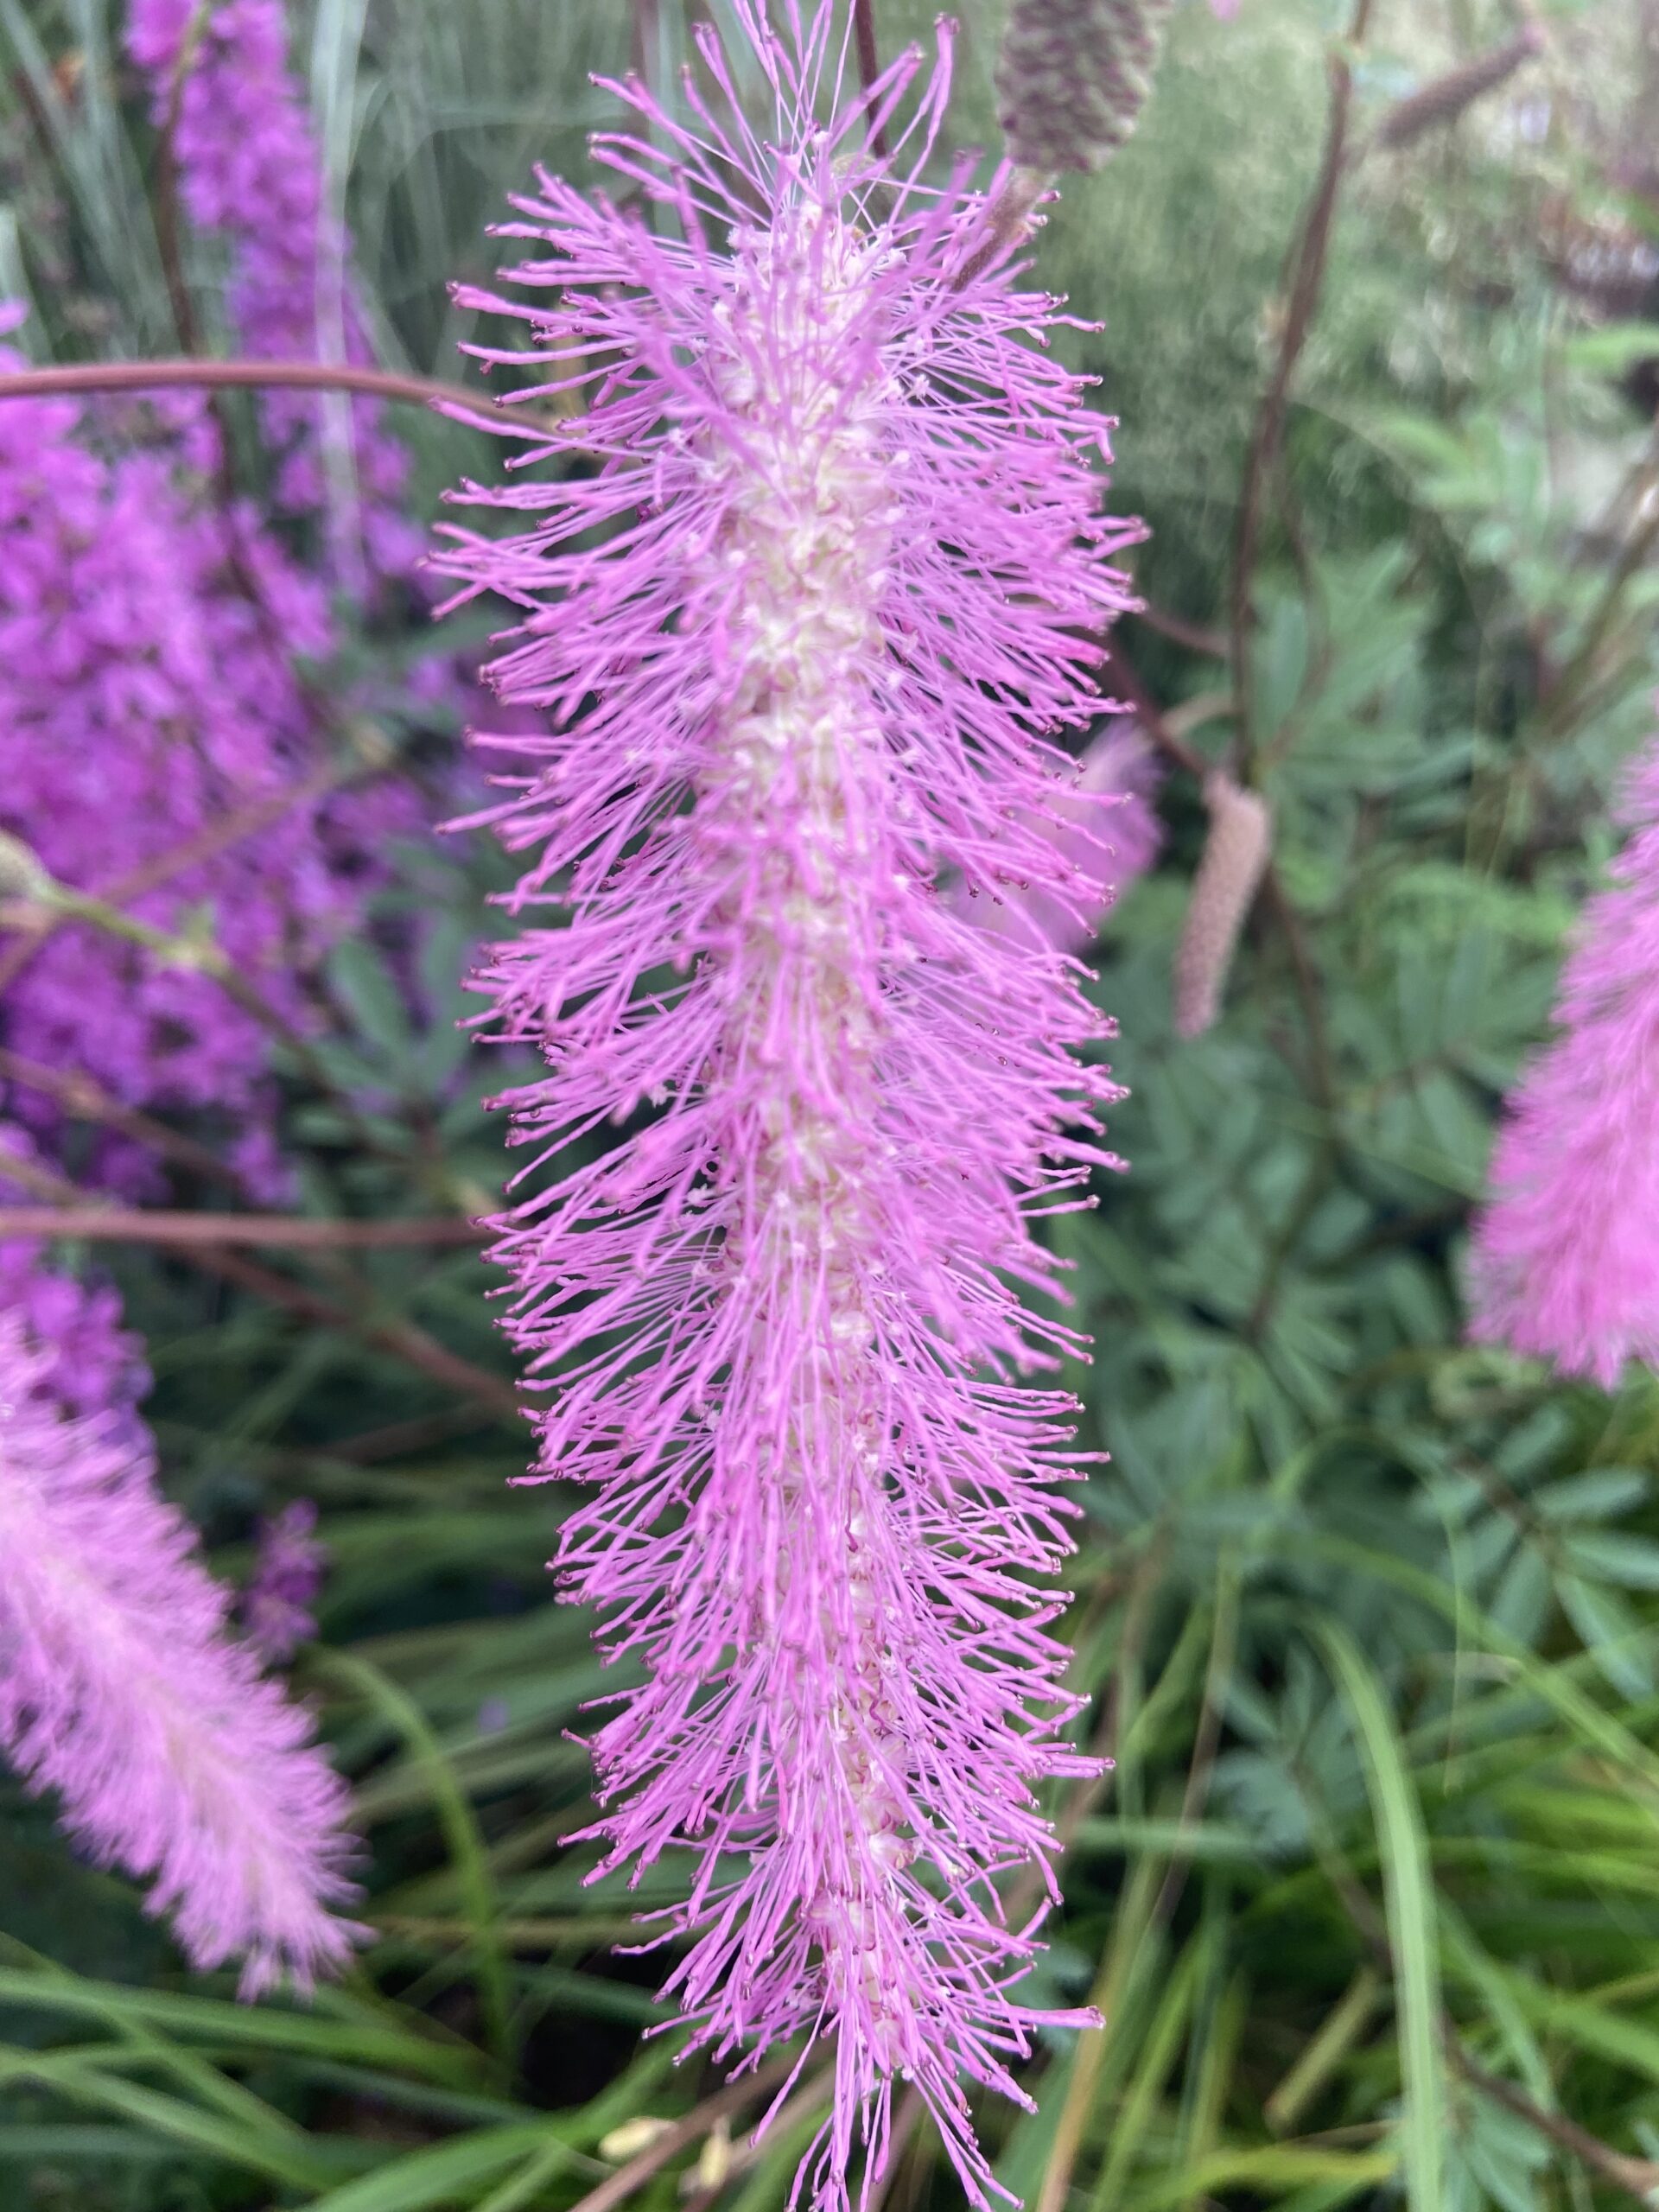
3 different plants requiring 3 different conditions
The succulent on the left-hand image appreciate a well-drained soil. It is drought tolerant (but tender) so it can thrive in a smaller pot that might dry out a bit more quickly.
The large leaves on the hosta are a different kettle of fish. This plant loves rich moisture retentive soil, but it won’t appreciate being waterlogged. It will look decidedly peaky if all it has to grow in is multipurpose compost. So use a mix of soil, multipurpose and a bit of garden manure to help it grow.
Finally, perennial shrubs like the pink Sanguisorba. These are plants that will last for years, so it is best to plant in a soil-based potting mix, and not multipurpose compost. You will need to topdress with a feed and ensure it doesn’t dry out, every few years replenish with fresh soil.
The upshot is; if plants have good growing conditions, you won’t have to look after them so often.
Put the right stuff in the pot for the place you want it!
Apologies for maybe stating the obvious, but seeing as we are looking at ways to reduce unwanted garden chores. What you put where is really quite important.
- In hot sunny areas, make sure all the plants you add to the pot will thrive in hot conditions.
- Similarly in shade, don’t mix ferns and sun lovers for example.
- Pots containing a mixture of plants look wonderful in magazines and garden centres but they are actually tricky to keep well-fed and watered.
Filling your Pots:
All Pots need ballast at the base to aid with drainage. Leave a gap at the top to allow for easier watering. The plant’s root ball should occupy the area shown in darker brown, that way the plant has enough room, which encourages new root growth.
If the pot has been overfilled, water will simply run over the edge and not get into the soil.
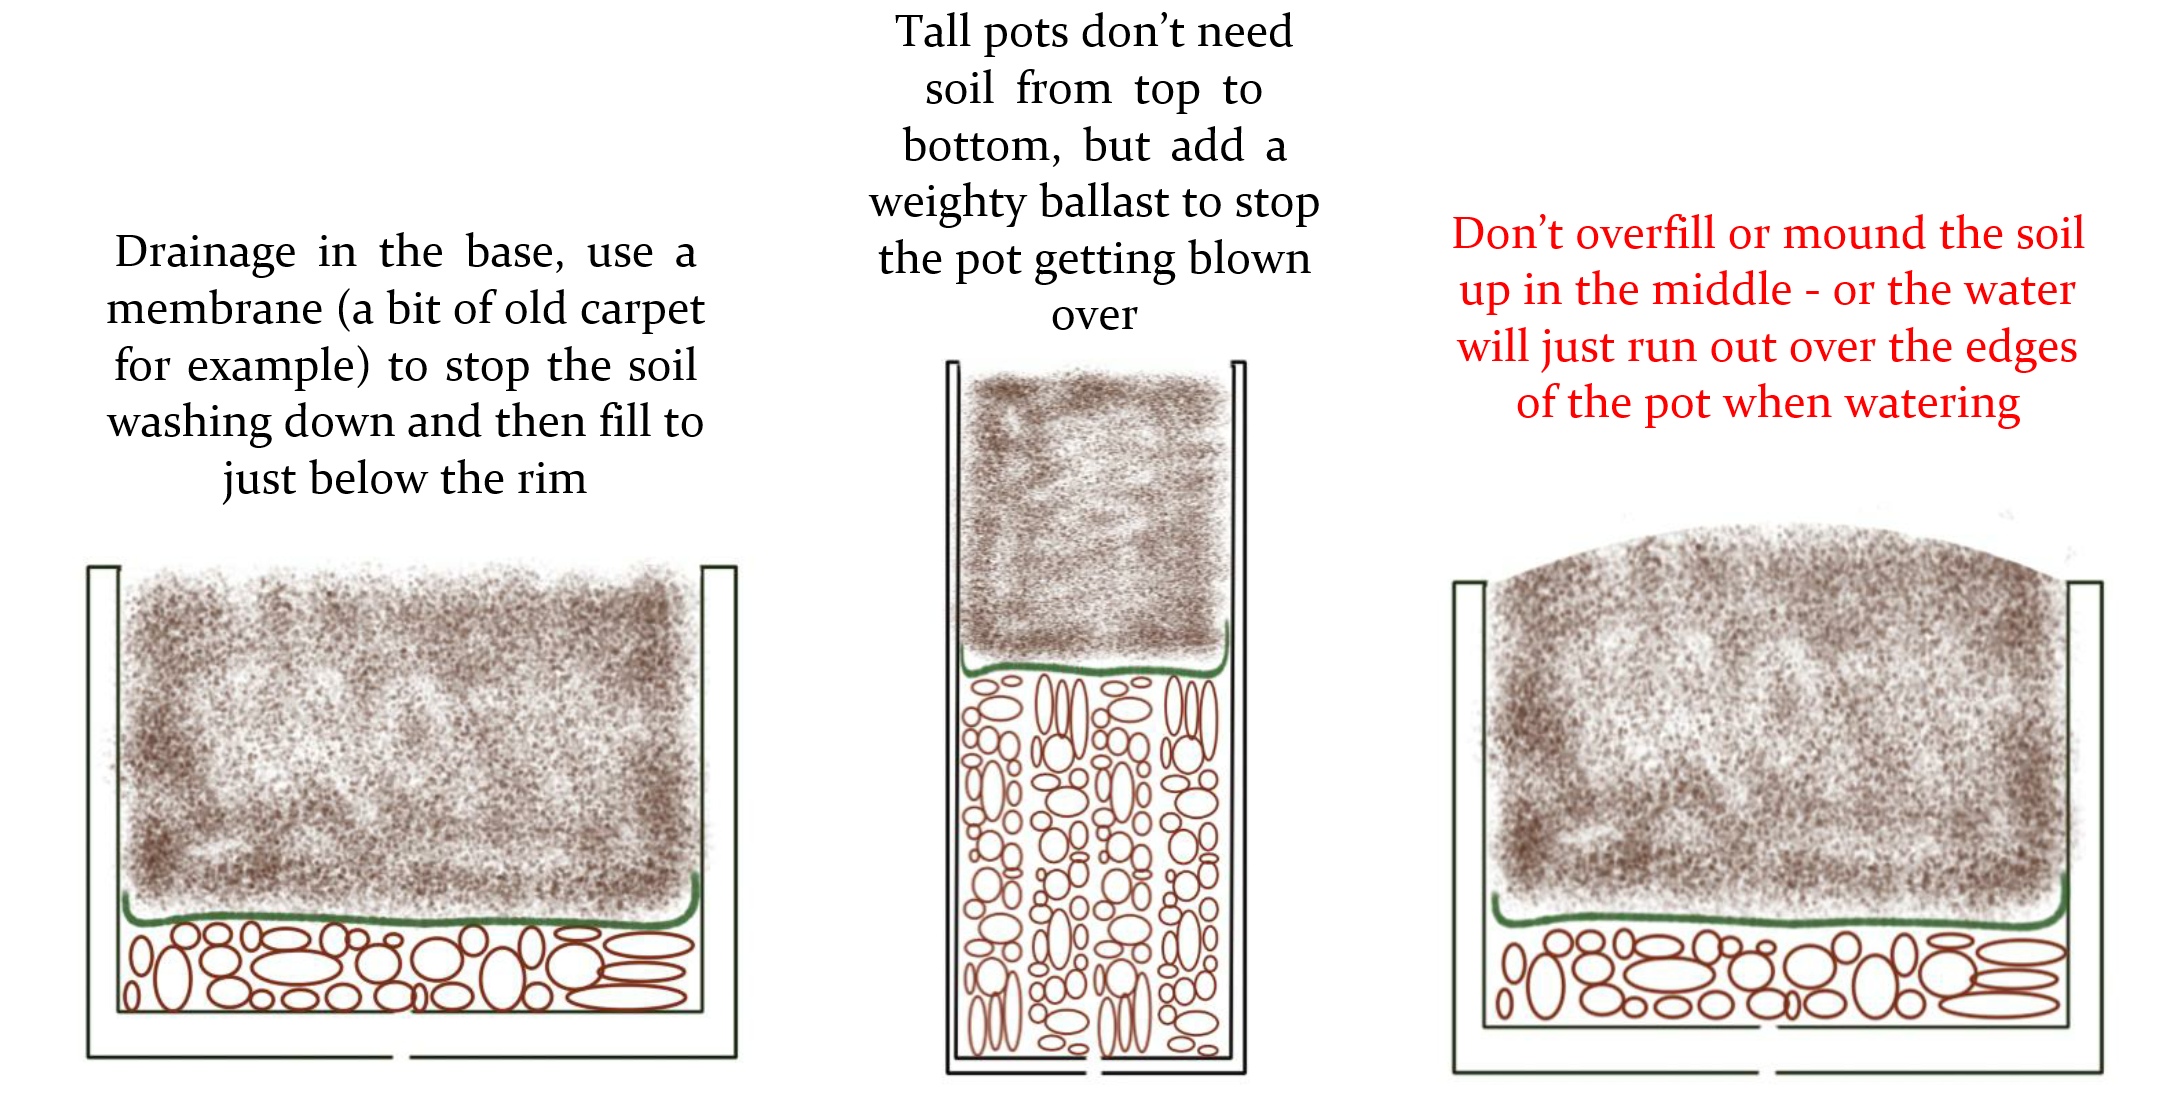 If you have a tall pot, you don’t need to fill the entire pot with expensive soil & compost. You will need some ballast for stability and to aid drainage at the base, add a lightweight layer above. This can be old polystyrene plant trays or empty plastic pots. Above that, you add a membrane to prevent the soil from being washed through and then add the soil as before.
Finally have little pot collections, rather than dotting individual pots here and there around the garden. It makes it much quicker to water them all.
Pots will always require more care and attention than plants in the ground. By choosing the type of pot and by thinking a little more about the compost and the plants, your plants will look healthier and last longer. Which means less work for you.
Garden Paths
How to design low-maintenance paths for the garden
We all have paths in our gardens, but the choice of the type of path to use can really affect how much time you have to spend on unwanted chores and tidying up.
1 – Most importantly – how much traffic will it get?
Footfall, feet, kids running up and down, the route to the bins, the route to the washing line, the bit leading up to the back door. All of these will experience a lot of traffic, so you must have a hard-wearing surface, any grass path will only turn to a muddy mush in winter with all that wear and tear.
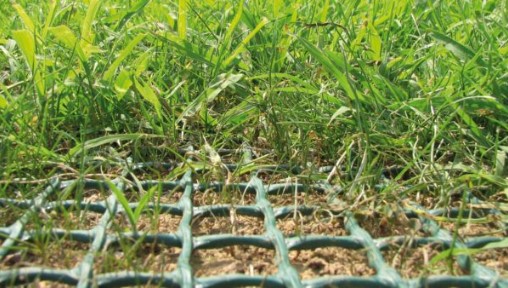
If you can only have grass there, you can add a grass protection mesh to the surface, this way you walk on a frame and the grass grows through it.
The trick here is not to mow the grass too short so you don’t see the mesh. However, it may not be the ‘prettiest’ solution.
2 – How little sun will the path get?
If you have a path that experiences little or no sun then it is best to avoid any surface that is fairly smooth – green algae and lichens will quickly turn your path into a speed skating rink after any rainfall.
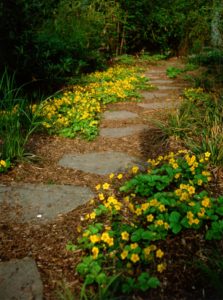
- Avoid any decking or wood stepping stones (unless you love pressure washing)
- Concrete paths can be OK as long as they are not too smooth (but they will still go green in shade)
- Avoid lighter-coloured stone paths – you can’t stop the green algae from growing, you’ll just notice it less on darker colours
3 – What is likely to drop onto the path?
This may not be an obvious tip, but your path will accumulate stuff, stuff that has blown in by the wind, stuff dropped by overhanging trees and also ‘stuff’ dropped by our feathered friends!
You need to decide not only how much stuff is likely to drop, but how much time you want to spend clearing it up!
- Stones especially larger decorative stones are nigh on impossible to rake all the leaves and other debris off, you need a blower or a leaf hoover of some kind. All of which takes time. So under trees – have a path made of sweepable slabs or pavers.
- If the birds roost in trees above any path, you will have bird poop. Beautiful crisp clean paving will show every dropping in all its glory. Shingle is a good alternative to disguise the pooping, but it needs properly edging in so you can easily rake it.
- Will the soil wash off the borders onto the path?
- Are the plants hanging over the path and will they drop seeds into it? (weeding!!)
This path will have a lot of leaf fall and debris, on the plus side, there are raised edges to prevent soil from falling onto the path, and the planting does not spill onto the path too much. On the downside, the stones are too large to easily rake so you need a blower and although the light colour does lighten the space – you also see every bit of debris onto the path.
4 – Do your Edges properly!
All paths have edges, obviously, but what the path edges onto will also determine how time-consuming any maintenance will be.
This may look attractive, but
a) the grass will creep over the stones;
b) it is tricky to edge the grass with shears and
c) the stones will camouflage themselves under grass ready to shoot out at breakneck speed onto your shin when you mow!
Any stone path needs a proper edge that sits above the height of the stones to keep the stones where you want them and stop soil from being washed onto the paths which will allow weeds to flourish.
5 – Weeding, make it easy for yourself.
 You will not stop weeds from growing, but not getting the path type right can allow more weeds to grow than you would want! There are some simple rules to follow
- The more joins you have, the more opportunity for weed seeds to sprout through the cracks
- If you use block paving anywhere – don’t plant self-seeding experts near or upwind of the path….think ornamental grasses, Forget Me Not etc.
- If the soil can get washed into the path (especially shingles or stones), it provides a perfect growing medium for new seedlings to pop up.
- Make sure before you make a path, you HAVE dug out any roots that are lurking underneath especially ground elder, couch grass and bindweed, amongst others.
- If you lay concrete paths near large trees, the path is likely to crack as the ground moves with the amount of water the tree is using, so use a path that can cope with ground movement
- Do not plant plants that spread via underground roots anywhere near your paths unless you have either planted them in pots or you have a really good root barrier in place.
Easy Lawns
Low Maintenance Lawns – are they possible?
Lawns are very definitely not low maintenance….but you can lower the time you have to spend manicuring them.
If you love mowing and trimming the lawn and its part of your favourite weekend routine, then please don’t read any more, if however, your lawn is a bit of a pain in the ‘Sunday mornings’ then do please carry on!
We love lawns though, don’t we? In the UK we have always prided the standard of our lawns. A totally bump-free, striped (of course), verdant swathe of green that has been trimmed to a regulation height and contains not one daisy has been seen as the ultimate status symbol in many a garden.
It is a statement of how Man can command nature to comply with our rules.
Well, that’s great if you love military precision and mowing but it takes an awful lot of time and effort.
Lawns are one of the most time-consuming chores any garden produces, so if garden maintenance is not your favourite occupation, how can you reduce the time spent mowing?
Analyse your lawn.
If you have heard of the Pareto principle – 80% of the work arises from 20% of the possible causes.
In this case, 20% of your lawn will be walked on 80% of the time and 80% of the lawn will not get much wear from you at all.
So in the interests of lowering the maintenance of the lawn, you need to decide if the lawn needs to be quite as large as it is.
Now before you, all roll your eyes and think that digging up the grass and replacing it with flower beds would be even more work (which it would), think instead
do you need to tend the 80% of the lawn that you don’t really use as much as the 20% you do?
This does mean, tackling the cultural icon of the perfect lawn as a status symbol, but in reality, perfect lawns like the one above are virtual deserts for insects. It’s like flying over the Sahara for a bee! They contain not a scrap of food and are there for our own pleasure, but if we aren’t really using 80% of it, then what pleasure are we indulging in?
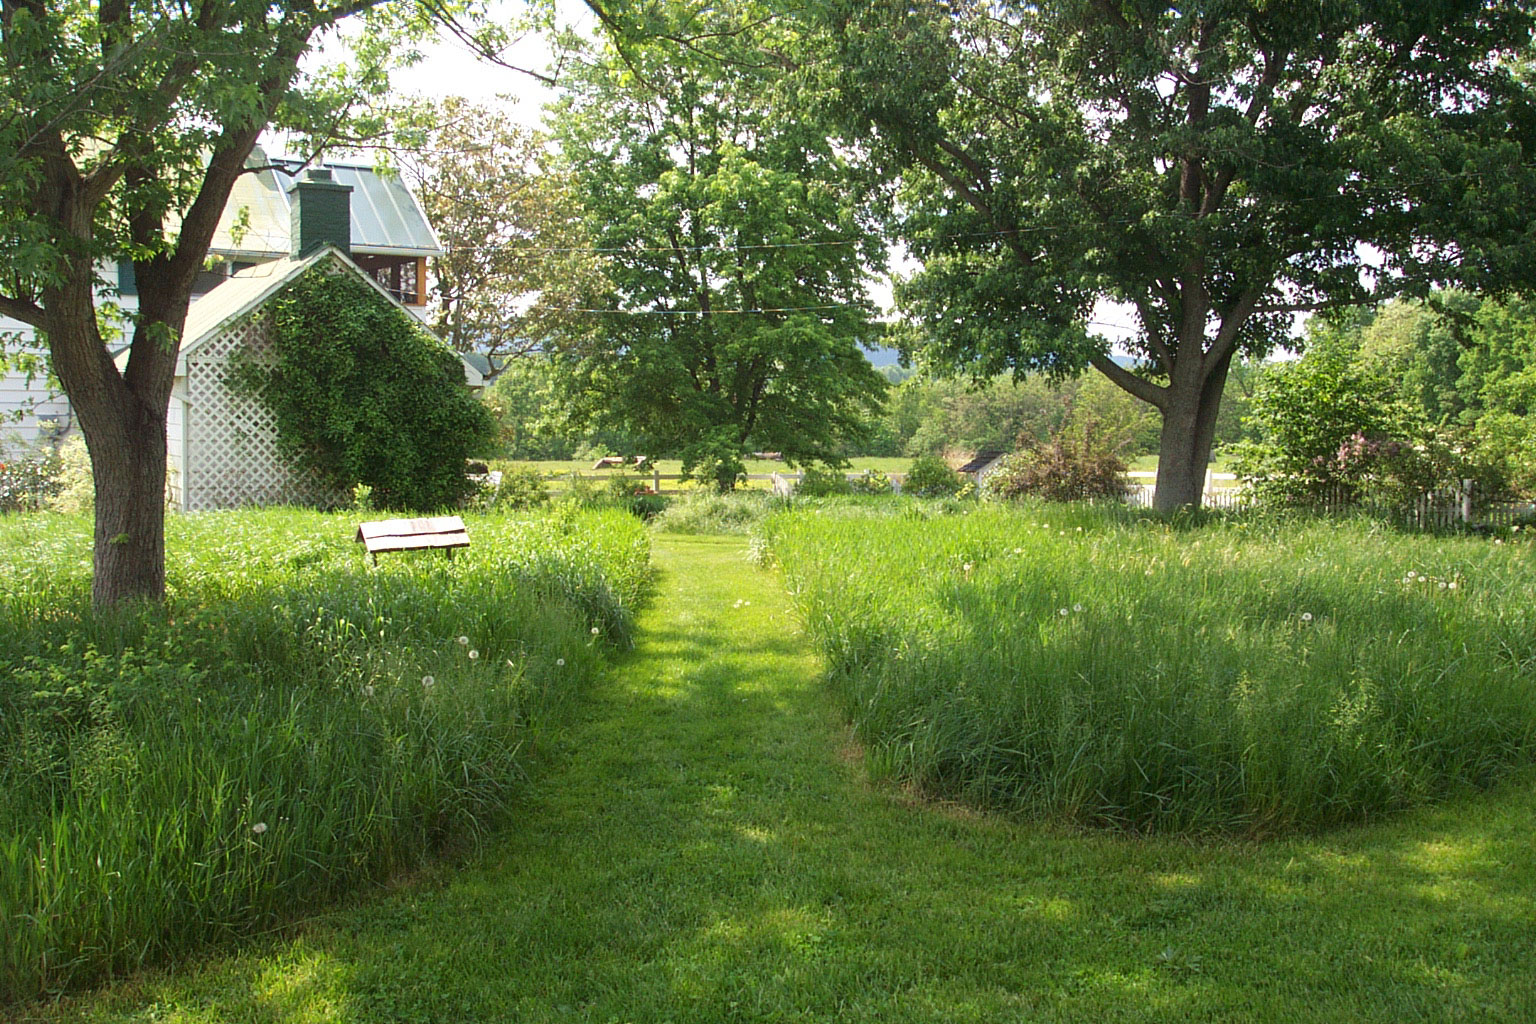
How would this apply to a small average garden lawn though, wouldn’t it look rather out of place? Well not really, think of it as adding to a boring flat lawn. You can introduce blocks of unmown grass in the areas you don’t use much, so for example under the canopy of a tree, allow the grass to grow longer, so you don’t have to mow it so often.
If you have children’s swings or slides on the lawn, don’t try and mow up to the base of the swing, create a longer grass section and just mow a wide sweep around it. It won’t look as daft as you think it will and this is all about reducing the time mowing!
Decide if you really need a lawn at all
Small lawns really aren’t worth the effort and neither are unused lawns.
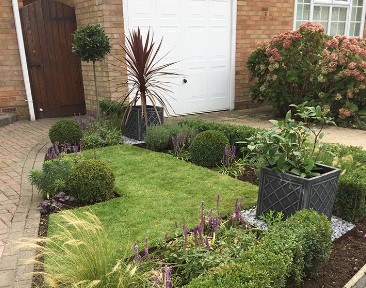
We’ve all passed by tiny lawns like this one, clearly, but having a swathe of lawn like this is just adding to the list of weekly chores. Grass is a wonderful surface to walk on, if there is no traffic or use, why have the grass at all?
Incidentally, this front garden would look fantastic as a grass garden, the soil is poor, dries out easily and it’s quite sunny – so perfect place for easy-to-grow ornamental grasses, that will only require one trim a year.
If you do have a tiny patch of grass, then the chances are it will get quite a lot of footfall, is a threadbare lawn really worth having? In reality, small lawns should be removed and replaced with another landscaping material…unless you decide on a tiny grass meadow and let the whole thing grow and cut it once in late autumn.
Sort out your seed!
Most of you will have inherited the lawn that came with the property, it would be nice if it was a beautiful one, but most likely it had good bits and threadbare areas. So you probably have popped off to the DIY or Garden Centre and have bought yourself some ‘Super Fast Lawn Repair’ kit or have splashed out on ‘Instant Patch Repair Seed Mix’, sown it and ‘bob’s your uncle’ – lawn restored.
There is a but coming and it’s this, ‘Super Fast’ and ‘Instant’. These seed mixes aren’t actually that clever, they won’t repair the lawn super fast and then slow their growth rate down to match the rest of your grass!
These are fast-growing grasses, so they keep growing and require mowing more often.
The same is true for ‘Hard Wearing Lawn Seed’, this too grows fast, so it can recover from constant wear. Sow this seed in areas of normal use and you end up with patches of faster grass growing.
Adding different types of seed mix to a lawn creates a patchwork of differing growth rates and in some cases, greens, which make the lawn look more unkempt and you end up mowing it more often.
You are best buying a normal seed mix and keep adding to any bare patches. If the grass really struggles to grow in a certain corner, then you need to reconsider if the lawn is in the right place. When the problem is due to lots of feet running on a small area, then consider adding a grass mesh to help protect the grass. Also, if the area is really shaded then most plants will struggle to grow, there are some tough plants that thrive in deep shade so maybe it’s worth ditching the threadbare grass for something more robust.
What shape is best?
Lawns come in all shapes and sizes, but if you want a speedy mow then follow these tips;
- Don’t have tight corners to the lawn – it makes it awkward to get a mower round
- Keep pots and chairs off the lawn if at all possible to speed things up.
- Use plant supports that keep foliage off the grass and that are high enough for the mower to run underneath.
- Raise the height of the cutter deck – since when was 1/2 inch the only height you could cut the grass too!
- Try to avoid raised edges on borders or paths that are tricky to mow next to.
- If you have a grass path, make it at least 2 mower widths wide for ease of cutting.
Mowing Frequency
The best way to reduce the time mowing is to mow less. The grass will obviously be a bit longer, mow every other week but trim the edges every week, the lawn will still look pretty neat and you have spent less time mowing.
Unless of course you still just love mowing!
A bit of Lawn advice for you:
Very few of us are graced with perfectly flat manicured lawns. The reality is that we tend to have lumps and bumps and good bits and bad bits, weedy bits, bare bits and hopefully a nice bit to sit out on!
What you need need to consider is not how awful it looks, but how good you want it to look. And whether you have the time and effort to achieve that look.
Regular mowing:
Regular cutting helps grass grow over weeds. Grass grows from the base upwards (unlike most plants), so if you keep chopping the top, the bottom grows better. But don’t cut it too short, better to a green 2″ high grass than a patchy brown/green 1″ lawn.
Maximise light:
Cut back (as much as possible) or use plant supports to stop stuff from flopping all over the grass.
Your edges:
If you don’t fancy mowing the grass, or it’s too wet, you can still trim the edges. You’d be amazed at how much neater it all looks, even if the grass is a little long!
Autumn maintenance:
Give the lawn a good grass rake in the Autumn and pick up the dead leaves. Then spike the lawn to aerate it, hard work I know but worthwhile. Try to keep off it as much as possible till the Spring
Spring maintenance:
Re-seed tired-looking areas, and add a little lawn fertiliser/weedkiller, and once the grass starts growing start mowing.
Lawn bumps:
Lawns that are not flat are a real pain to mow. The bumps get shaved to the ground but the hollows have lusher longer grass growing, you can’t mow easily. The result is a polka-dot effect on your nice green patch. If the bumps and lumps annoy you and you want to get rid of them, here’s what you do.
Bumps
Cut into the bumpy turf a large ‘X’, then peel the turf back to reveal the soil underneath. Then remove the soil to flatten the bump, and fold the grass back onto it. To secure, place a piece of mesh (chicken wire or fence netting) over the area and secure it firmly with pegs. This will keep the turf in contact with the soil until it re-roots. Water it regularly until the grass is held back down by the roots.
Hollows
The process is exactly the same, but you add soil to the hollow. Add topsoil not compost, then firm well down and add a little more. The repair should be a bump. This bump will settle down over time and hopefully leave a nice flat lawn.
Bare Patches in the lawn? –

Lack of light
Grass loves sunshine, there are grass mixes for shadier spots. If trees or shrubs overshadow the grass, it is probably going to look rather threadbare. Either, reduce the overhanging branches to let more light onto the lawn. Or consider removing the grass and replace with alternative hard landscaping. Alternatively, enlarge the border and add more plants that thrive in shadier conditions.
Compaction and or drainage
As the grass gets walked over, the ground beneath gets more squashed down. This makes it harder for the roots to grow, and the ground less able to drain well. So to improve this you can spike the lawn. Use a garden fork, push the prongs a good halfway in, wiggle it round, and tilt the fork to ‘lift the soil’.

Traffic and feet
Lawns can endure will have a lot of wear and tear, but there are solutions.
The simplest solution is to raise the height of the mower and not cut it so short. This will protect the base of the grass more which is where it grows from).
Secondly, add a turf-protecting grid, this sits on the soil and the grass grows up through a flat honeycomb frame. Mow the grass, just above the top of the frame, the roots of the grass are protected by the honeycomb. Also, consider artificial grass, it can offer a really good solution for a small garden or a heavily used area.
Muddy Lawns.
In a small garden, probably 10% of your lawn gets used 80% of the time and that will wear it away.
Once you have lost the grass, you will have to choose what you need to do. Keep re-turfing or reseeding the area, add a turf protection grid or get rid of the lawn entirely in that area and replace it with something more durable.
Unfortunately, there are no magic remedies, all require a little time effort and some expense to sort out, but the result has to look better than mud!
The key point here is not that the lawn is looking worn out, but why.
The most common reasons for your lawn looking less than gorgeous are poor drainage, lack of sunlight, the soil being compacted and mowing the grass too short.
Most of these issues can be dealt with. If you have still got problems then there are other possibilities to consider:
Animal wee! Their repeated weeing on the lawn will kill the grass. If you can’t train your pet to wee elsewhere, then dilution of said spot with water will help. Eventually, the wee wins and you may need to replace the grass. Sorry!
Petrol spillages: for those of you with motor mowers, check you are not leaking fuel onto the grass. This will leave brown patches on the lawn.
Fungal problems: if lawns are lacking nourishment, they can succumb to fungal disease. If patches of bleached or orangy/red grass appear, it is likely you have Red Thread. It will not kill the grass usually, but it does make it look sad, treat it with a nitrogen-rich fertiliser.
Bugs: Small brown patches all over the lawn and lots of birds pecking the soil can mean you have leather-jackets lurking below. These are grey grubs (daddy long legs larvae) that eat the grass from below. I am not a great advocate of using insecticide to control pests, rather try not to get too bothered by it. The other main lawn pests are ants. These don’t eat the grass, but push up the soil and create little mini anthills that are squashed by the action of the mower. This spreads soil on top of the grass and so creates bare patches. Once again, ants are too numerous to really try to eradicate. I do use an ant powder if I have red ants in my lawn, but that’s only because they bite!
Our lawn advice:
If you want lawn perfection, be prepared to put in hours of work. Otherwise accept there will be a few patches, some weeds and a few bare bits, but as long as most of the lawn is fine for sitting out on, then it’s fine.
Easy Hedges
How do you get low-maintenance hedges then?
Hedges will never be no-maintenance, but you can prevent them from being high maintenance;
The ‘rules’ are as follows:
- Hedges should be wider at the base than at the top.
- Limit the height of the hedge to 6 ft – which is tall enough!
- As a general rule, trim only a little off the side growth but you can take more from the top.
- Make sure you have decent tools – an old pair of blunt shears will make a hard job 10 times worse
- Don’t plant thorny climbers into your hedge – unless you are a real sucker for punishment.
- Evergreen Hedging is pruned in the Spring and trimmed in the summer, so early flowering climbers are best avoided in case you chop off the flower buds.
- Deciduous Hedging is pruned in Winter and trimmed again in Summer. Climbers that flower on new growth are good to use. If they get chopped in the winter prune, they’ll grow lots of new flowers for later in the year.
- If you use annual climbers, then plant these away from the base of the hedge or in large pots, so they don’t compete with the hedge for water and food.
- If at all possible, ‘flop’ the climber on the surface of the hedge, you can then move it off the hedge more easily to trim in the summer.
The Annual Trim.
You will not avoid pruning if you have a hedge, but you can make it easier with a little thought and a bit of planning.
Tall hedges:
These are a real pain to keep in check, if you can’t easily trim the hedge you may have to hire specialists in, which is expensive. Decide, if the hedge really needs to be 7 feet high. If the hedge only needs to be 5ft tall to screen out next door’s windows, then why grow it to a height where you need steps and ladders to trim it?
Wide hedges:
Any hedge can become too wide, which uses up valuable garden space and you can’t easily reach over the top. Most hedges are generally pruned harder on top and less on the sides. If you can see little shoots appearing on the woody stems of the hedge, it may well regrow from the base.

If the width does need to be reduced then it is best to tackle it over a couple of years. Cut back just one side of the hedge to the desired width, and lightly trim the other side. If the hedge regrows from the pruned side, wait until this has sufficiently thickened before you prune the other side back.
By the way, this won’t work with any conifers or Leylandii hedge.
It looks drastic, but given time this will all green up again.
Fast-growing shrubs:
It sounds tempting when you need a hedge to screen something ugly fairly quickly, to plant something that will grow fast. But remember, FAST growing means just that – forever. If necessary, put up a temporary screen until the hedge grows but slow is definitely better here.
We could list lots of shrubs and stuff that would be good, but the RHS have a pretty good list, so why duplicate something? The key point here is that you look for shrubs and plants that are slower to grow and try to avoid leylandii!
Precisely clipped hedges:
If you do like nice sharp hedge edges, they will need regular clipping. Keep these hedges lower, waist height is a good height for faster easier strumming. Topiary hedges are lovely, but you will need to clip and trim these often. I have a leopard topiary hedge, it is NOT low maintenance, but is rather fun!
Leaves.
Why do leaves make a difference to whether the hedge is low maintenance or not, well, you can use hedge trimmers on small-leaved hedges. But you have to use these on any plants with large-sized leaves.
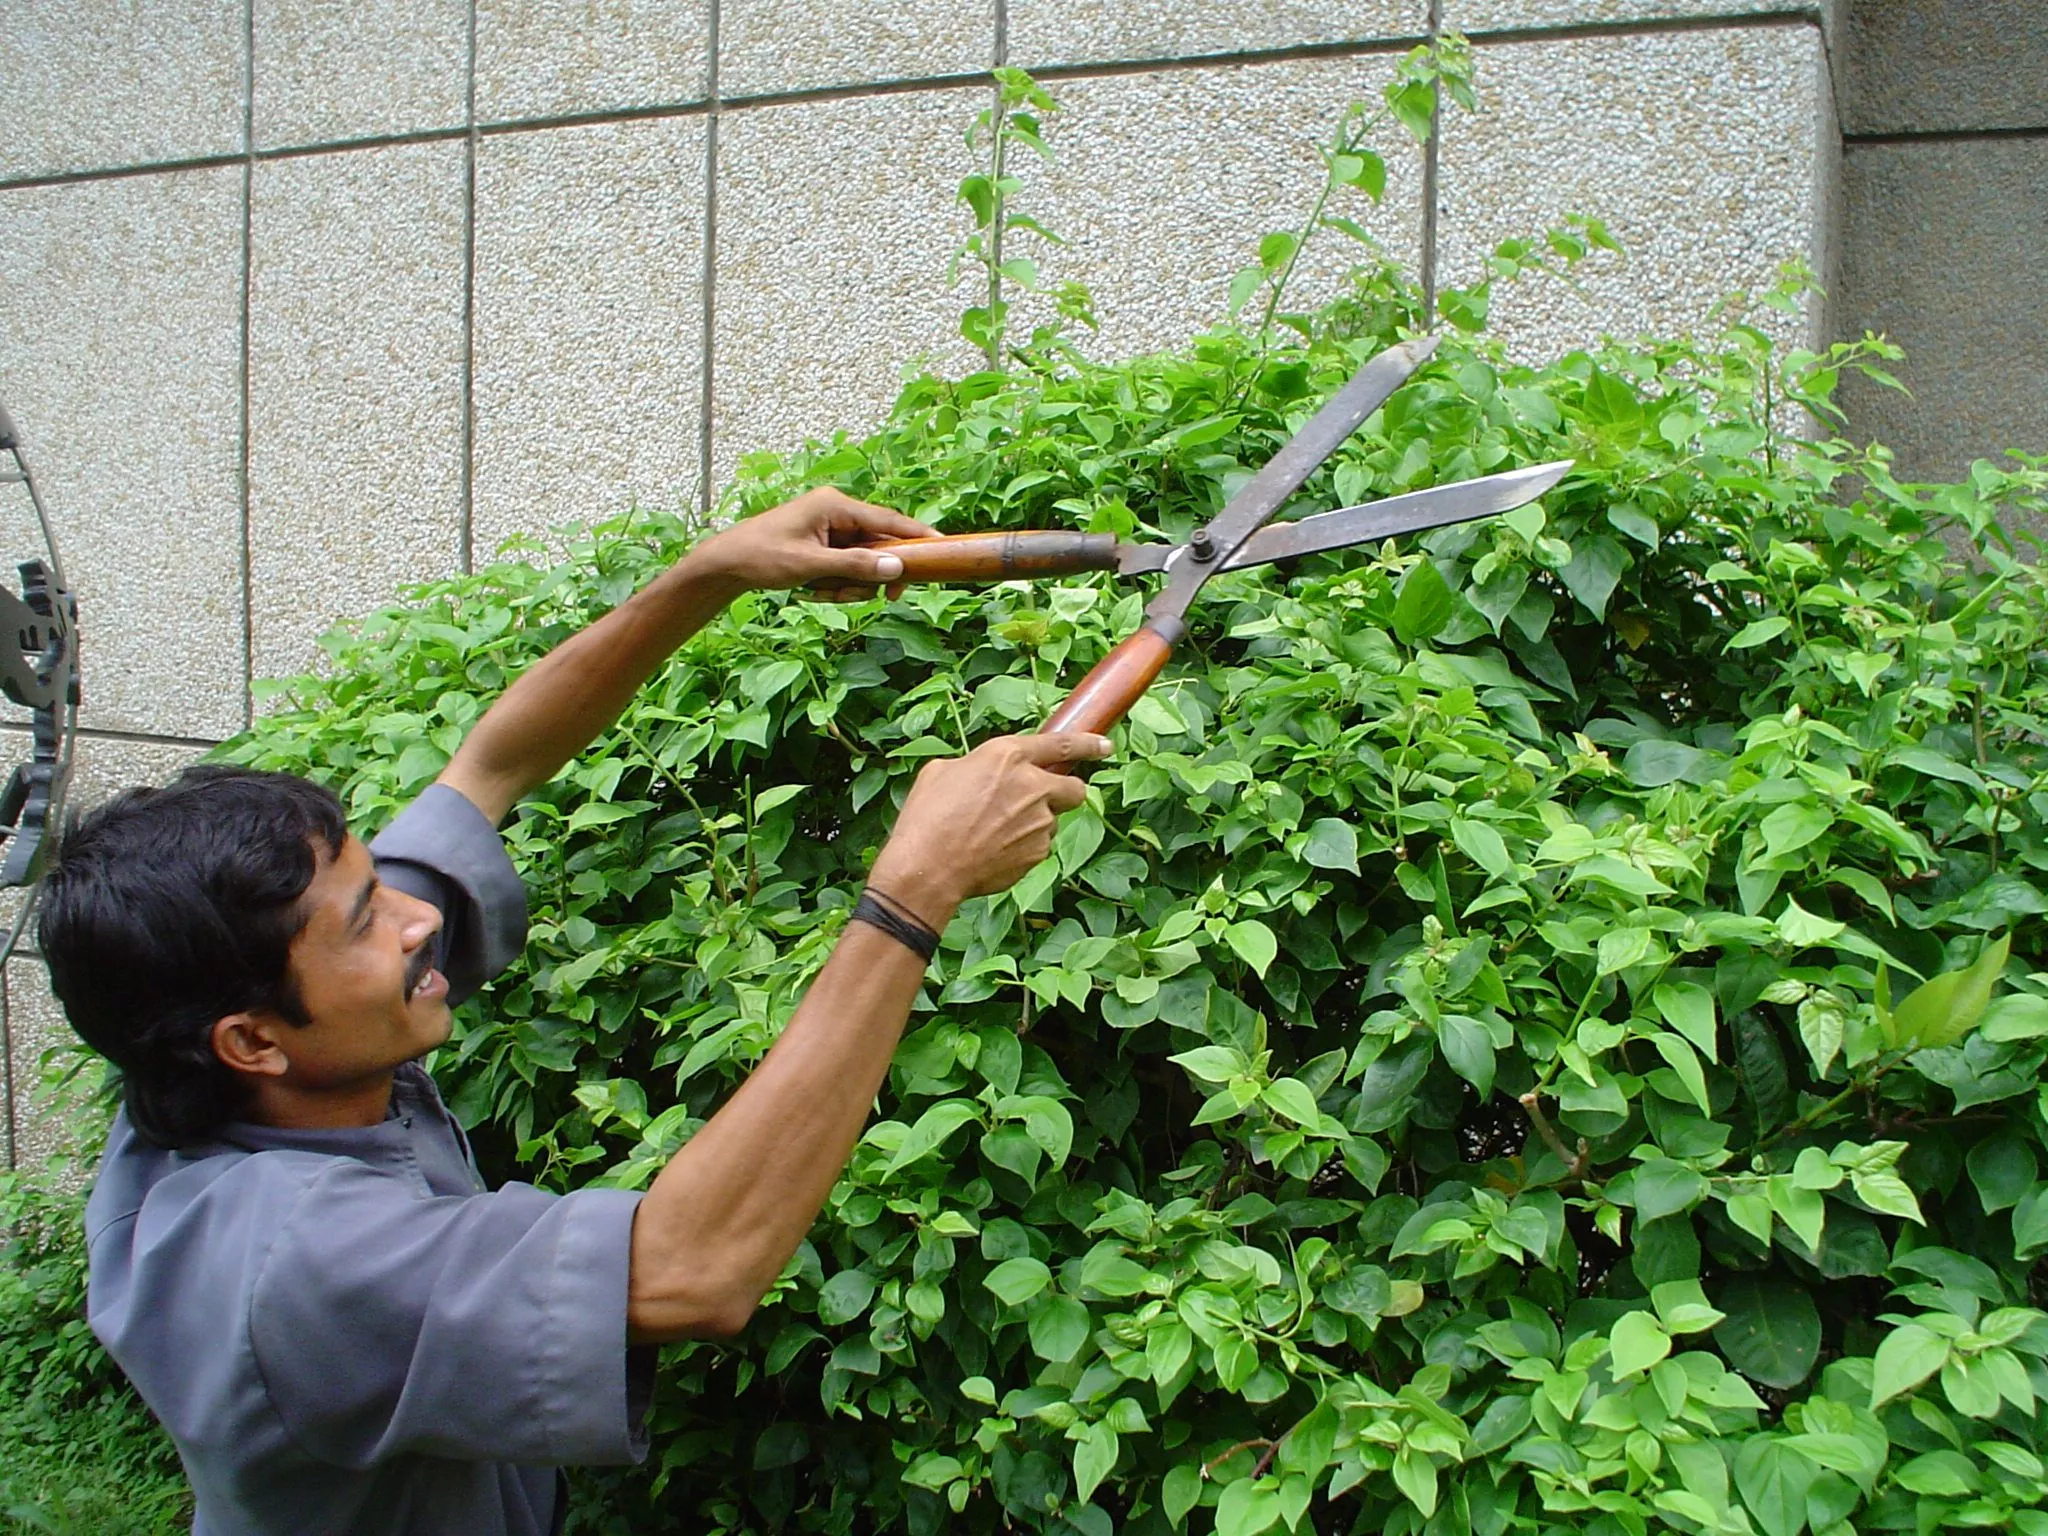
because a hedge trimmer will cut a large leaf in bits and the hedge starts to look rather scraggy. However, all is not too bad, manual trimming may not be particularly low maintenance, but you do get great-looking arms!
Be Self Supporting
This may sound blindingly obvious, but if you have a hedge or you want to grow something to screen an ugly view – then it is much lower maintenance if you have plants that don’t need constant tying in, staking or supporting.
Growing flowering plants through hedging
This is often written about as a way to make hedges more interesting and ‘pretty’ and indeed it does, the problem arises if you don’t match the annual trim of the hedge with the flowering time of the climber.
The RHS have a good guide to when and how much various plants need pruning.
Lastly, and perhaps most importantly, do you really need to have a precisely clipped and geometrically rigid hedge?
Cutting ‘straight and true’ with either a strimmer or shears is actually more time-consuming than you think.
Maybe your hedge can ‘go with the flow’ a little more?
Low maintenance garden ideas – what did I do in my garden?
and how it can help you lessen garden maintenance.
This year I decided on a garden experiment, to see how I could reduce the volume of gardening chores I had been doing. I, like you, aspire to get the most from my garden – but with the least garden effort!
Now, there are lots of articles purporting to offer the best low-maintenance garden ideas for you to try. But before you make any changes; you need to decide what low-maintenance garden ideas will work for you! And that means you need to identify those activities you regard as a chore, not a pleasure and concentrate on reducing the time taken doing them.
I used to spend a lot of time and gardening effort mowing and keeping the weeds at bay. These were garden chores that (for me) created a lot of work, for very little benefit.
As soon as the grass was mown, it began to grow again. So off we went around the cycle of garden maintenance again.
I decided to try two things. Firstly, I would stop mowing the grass and secondly, I would allow Nature to underplant and fill the garden borders.
