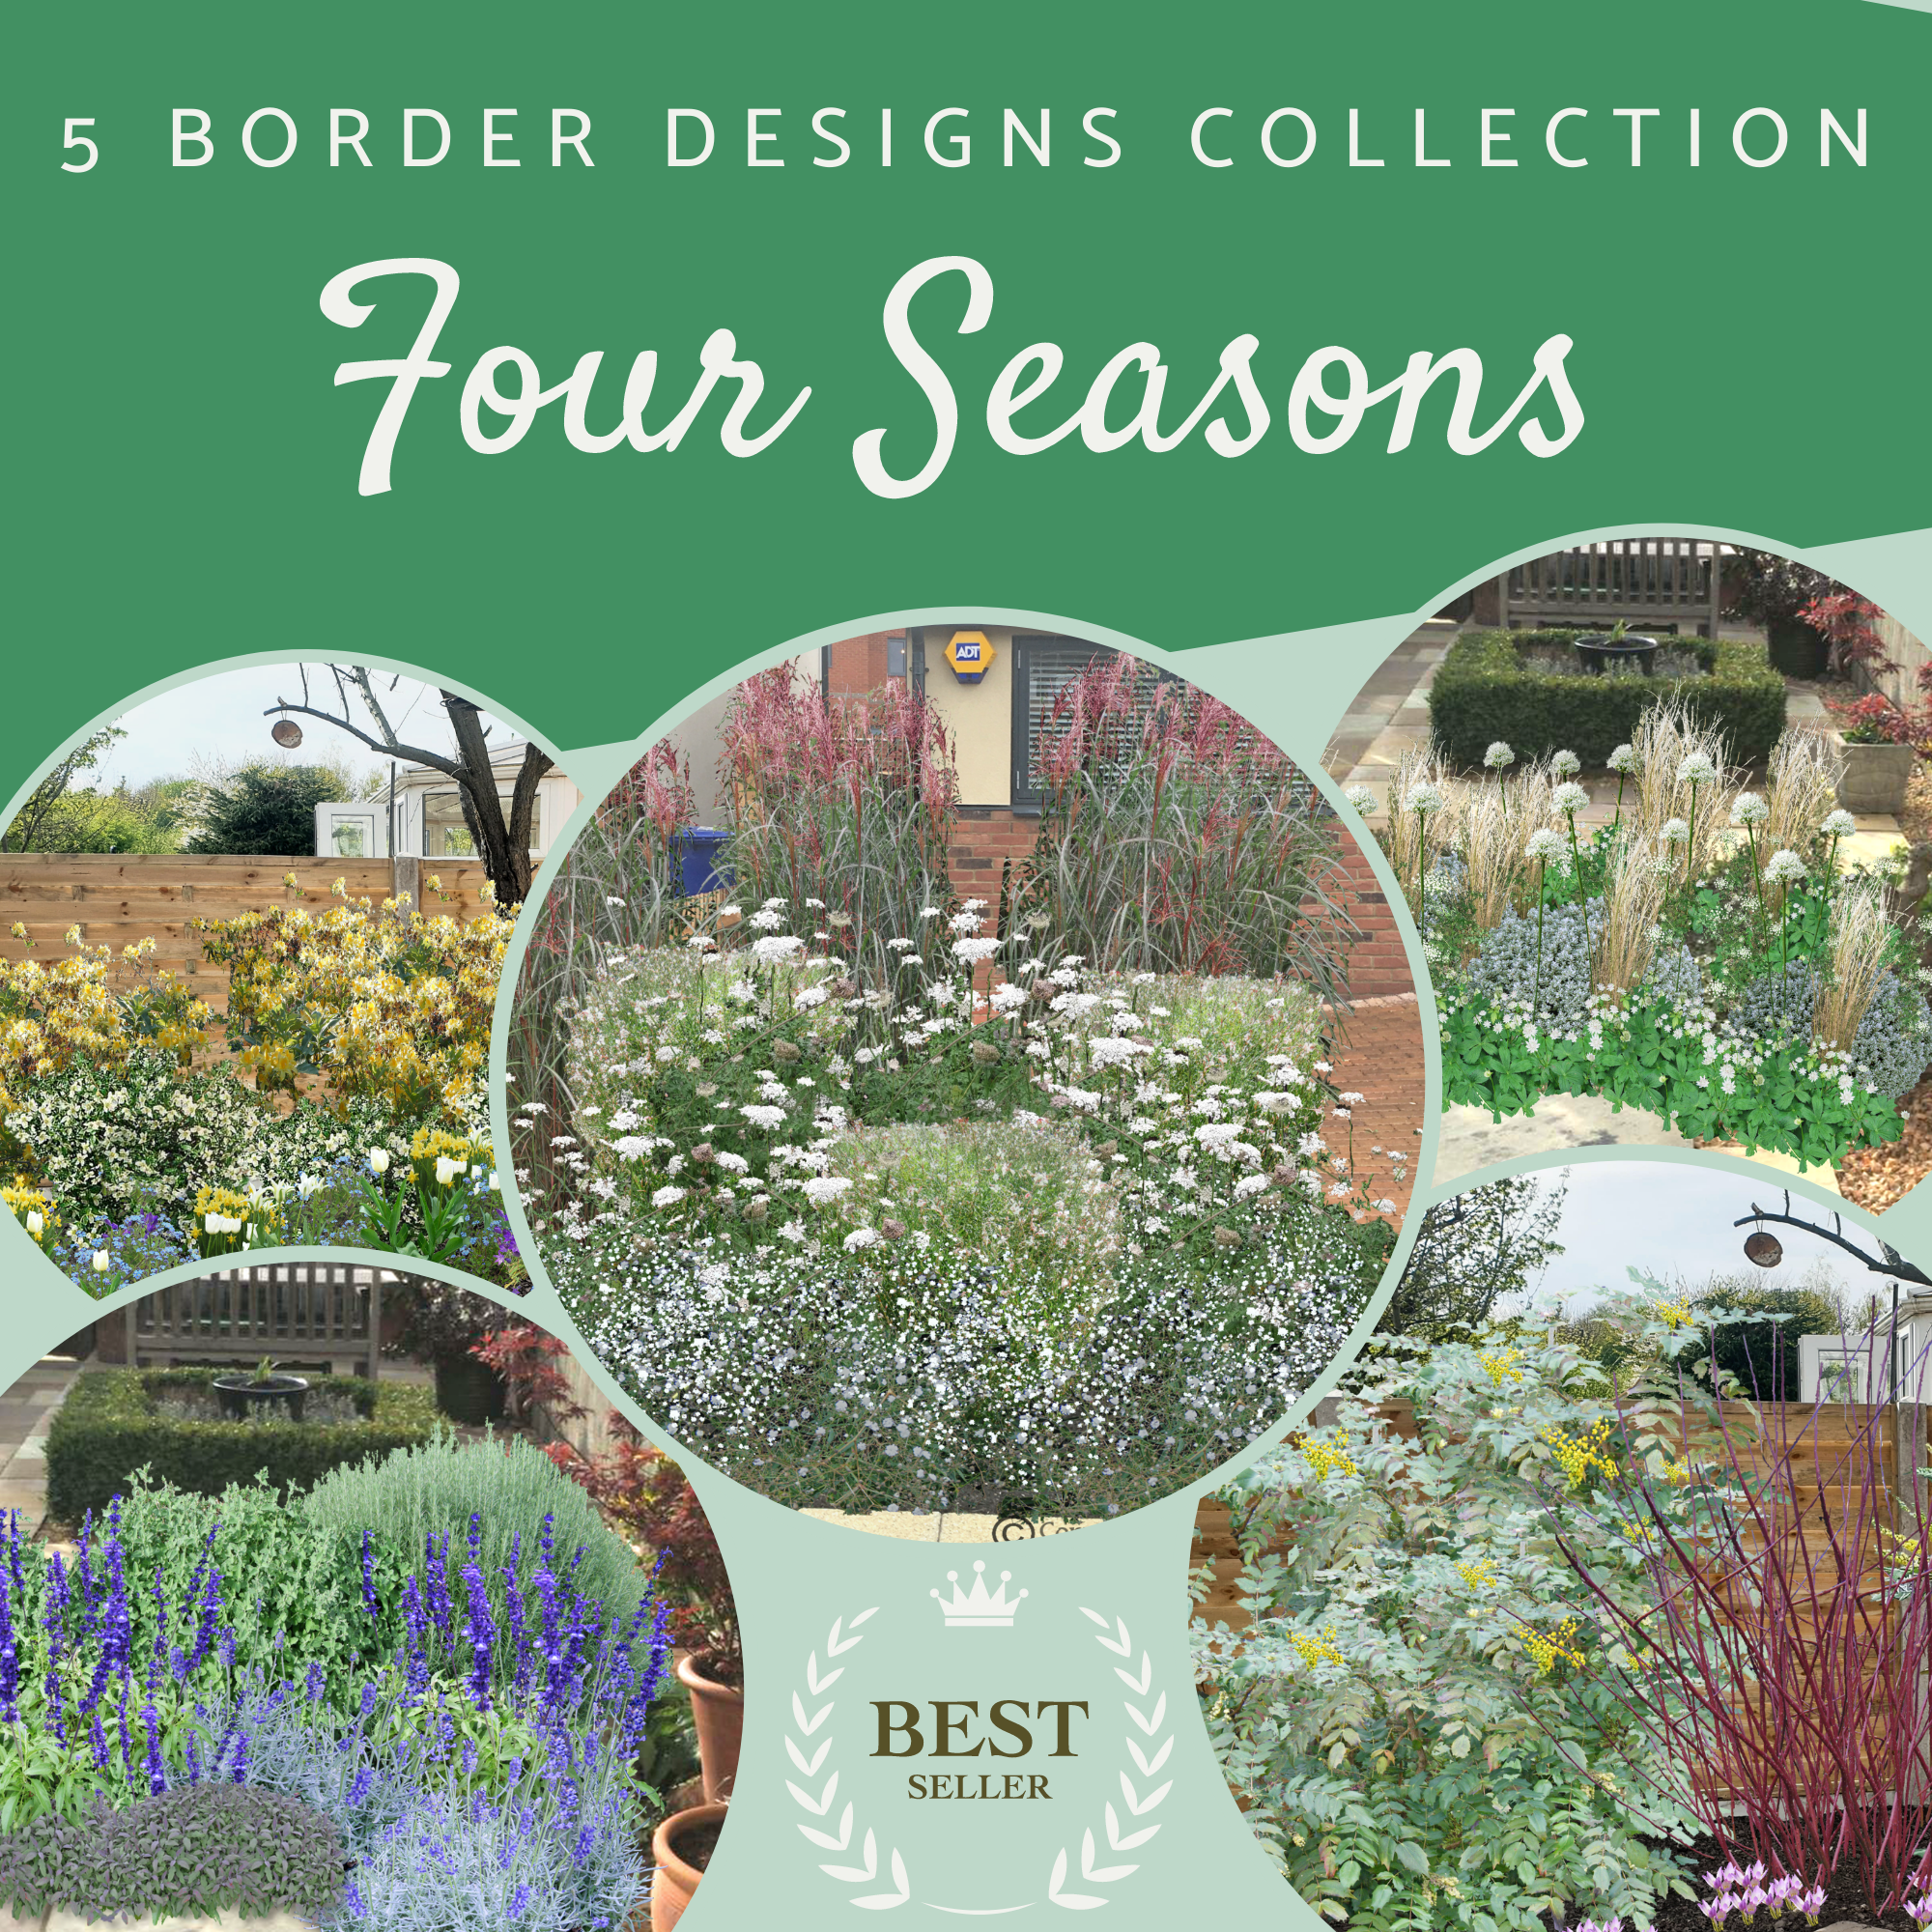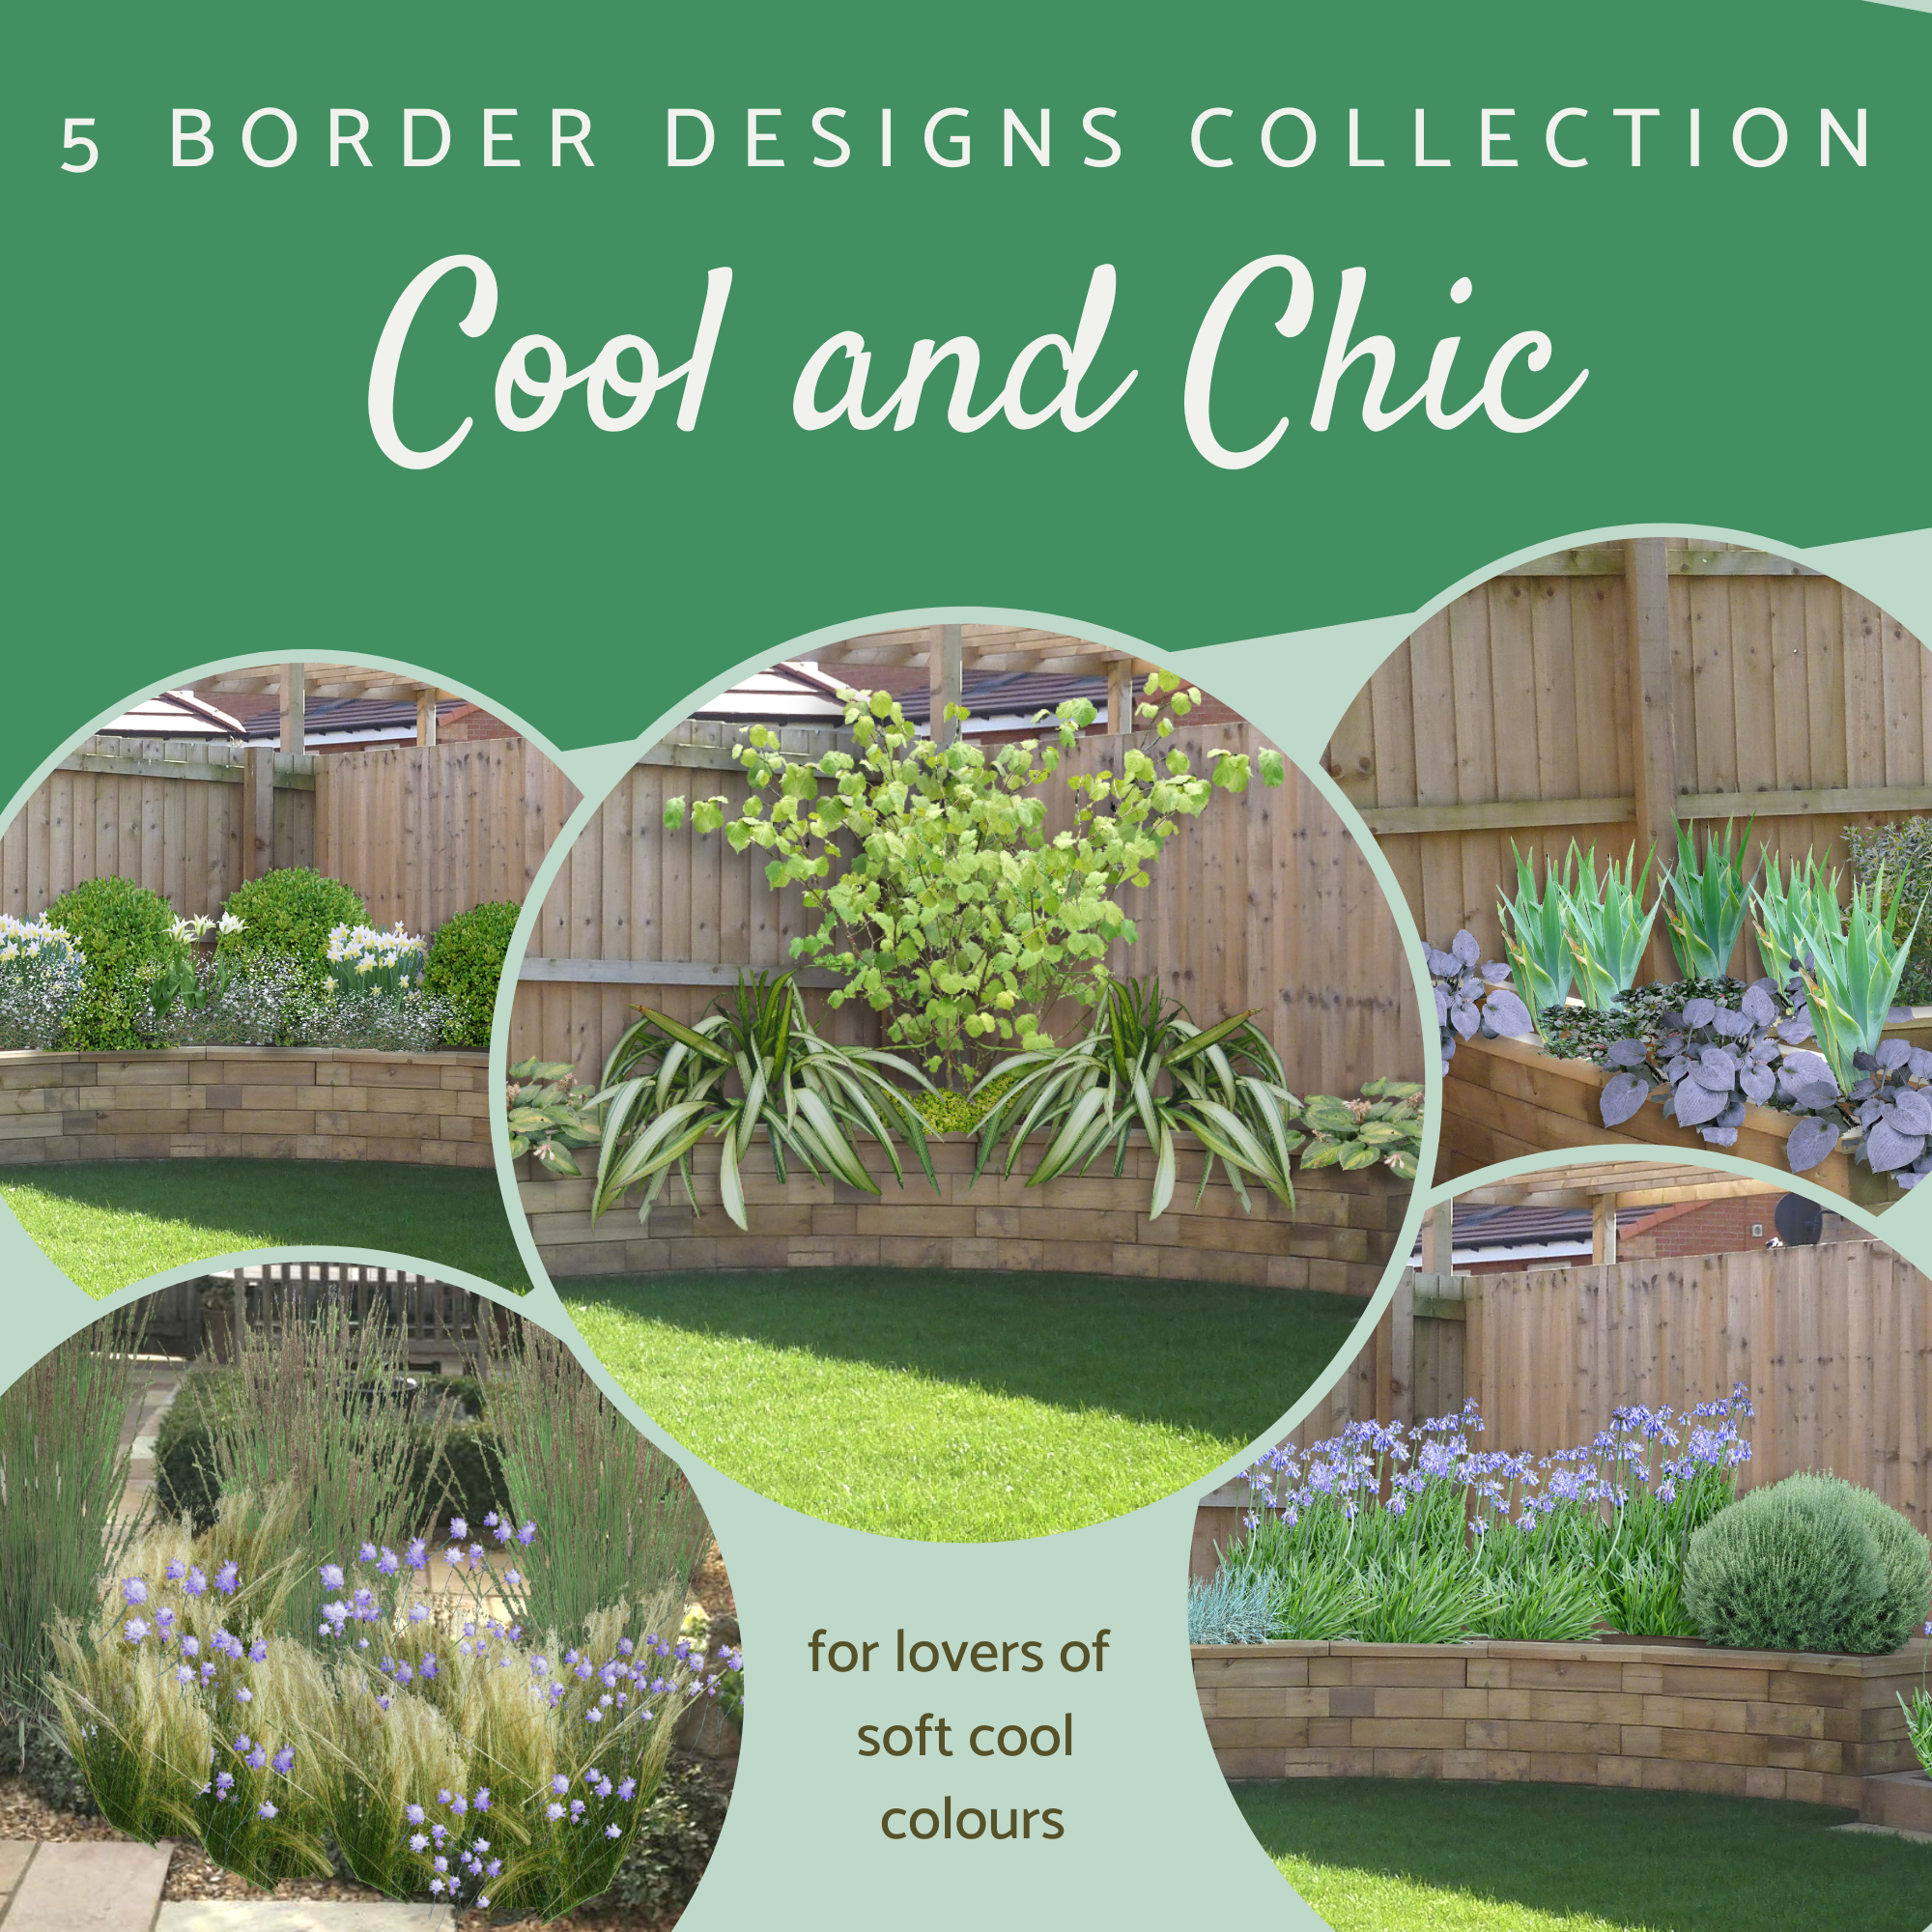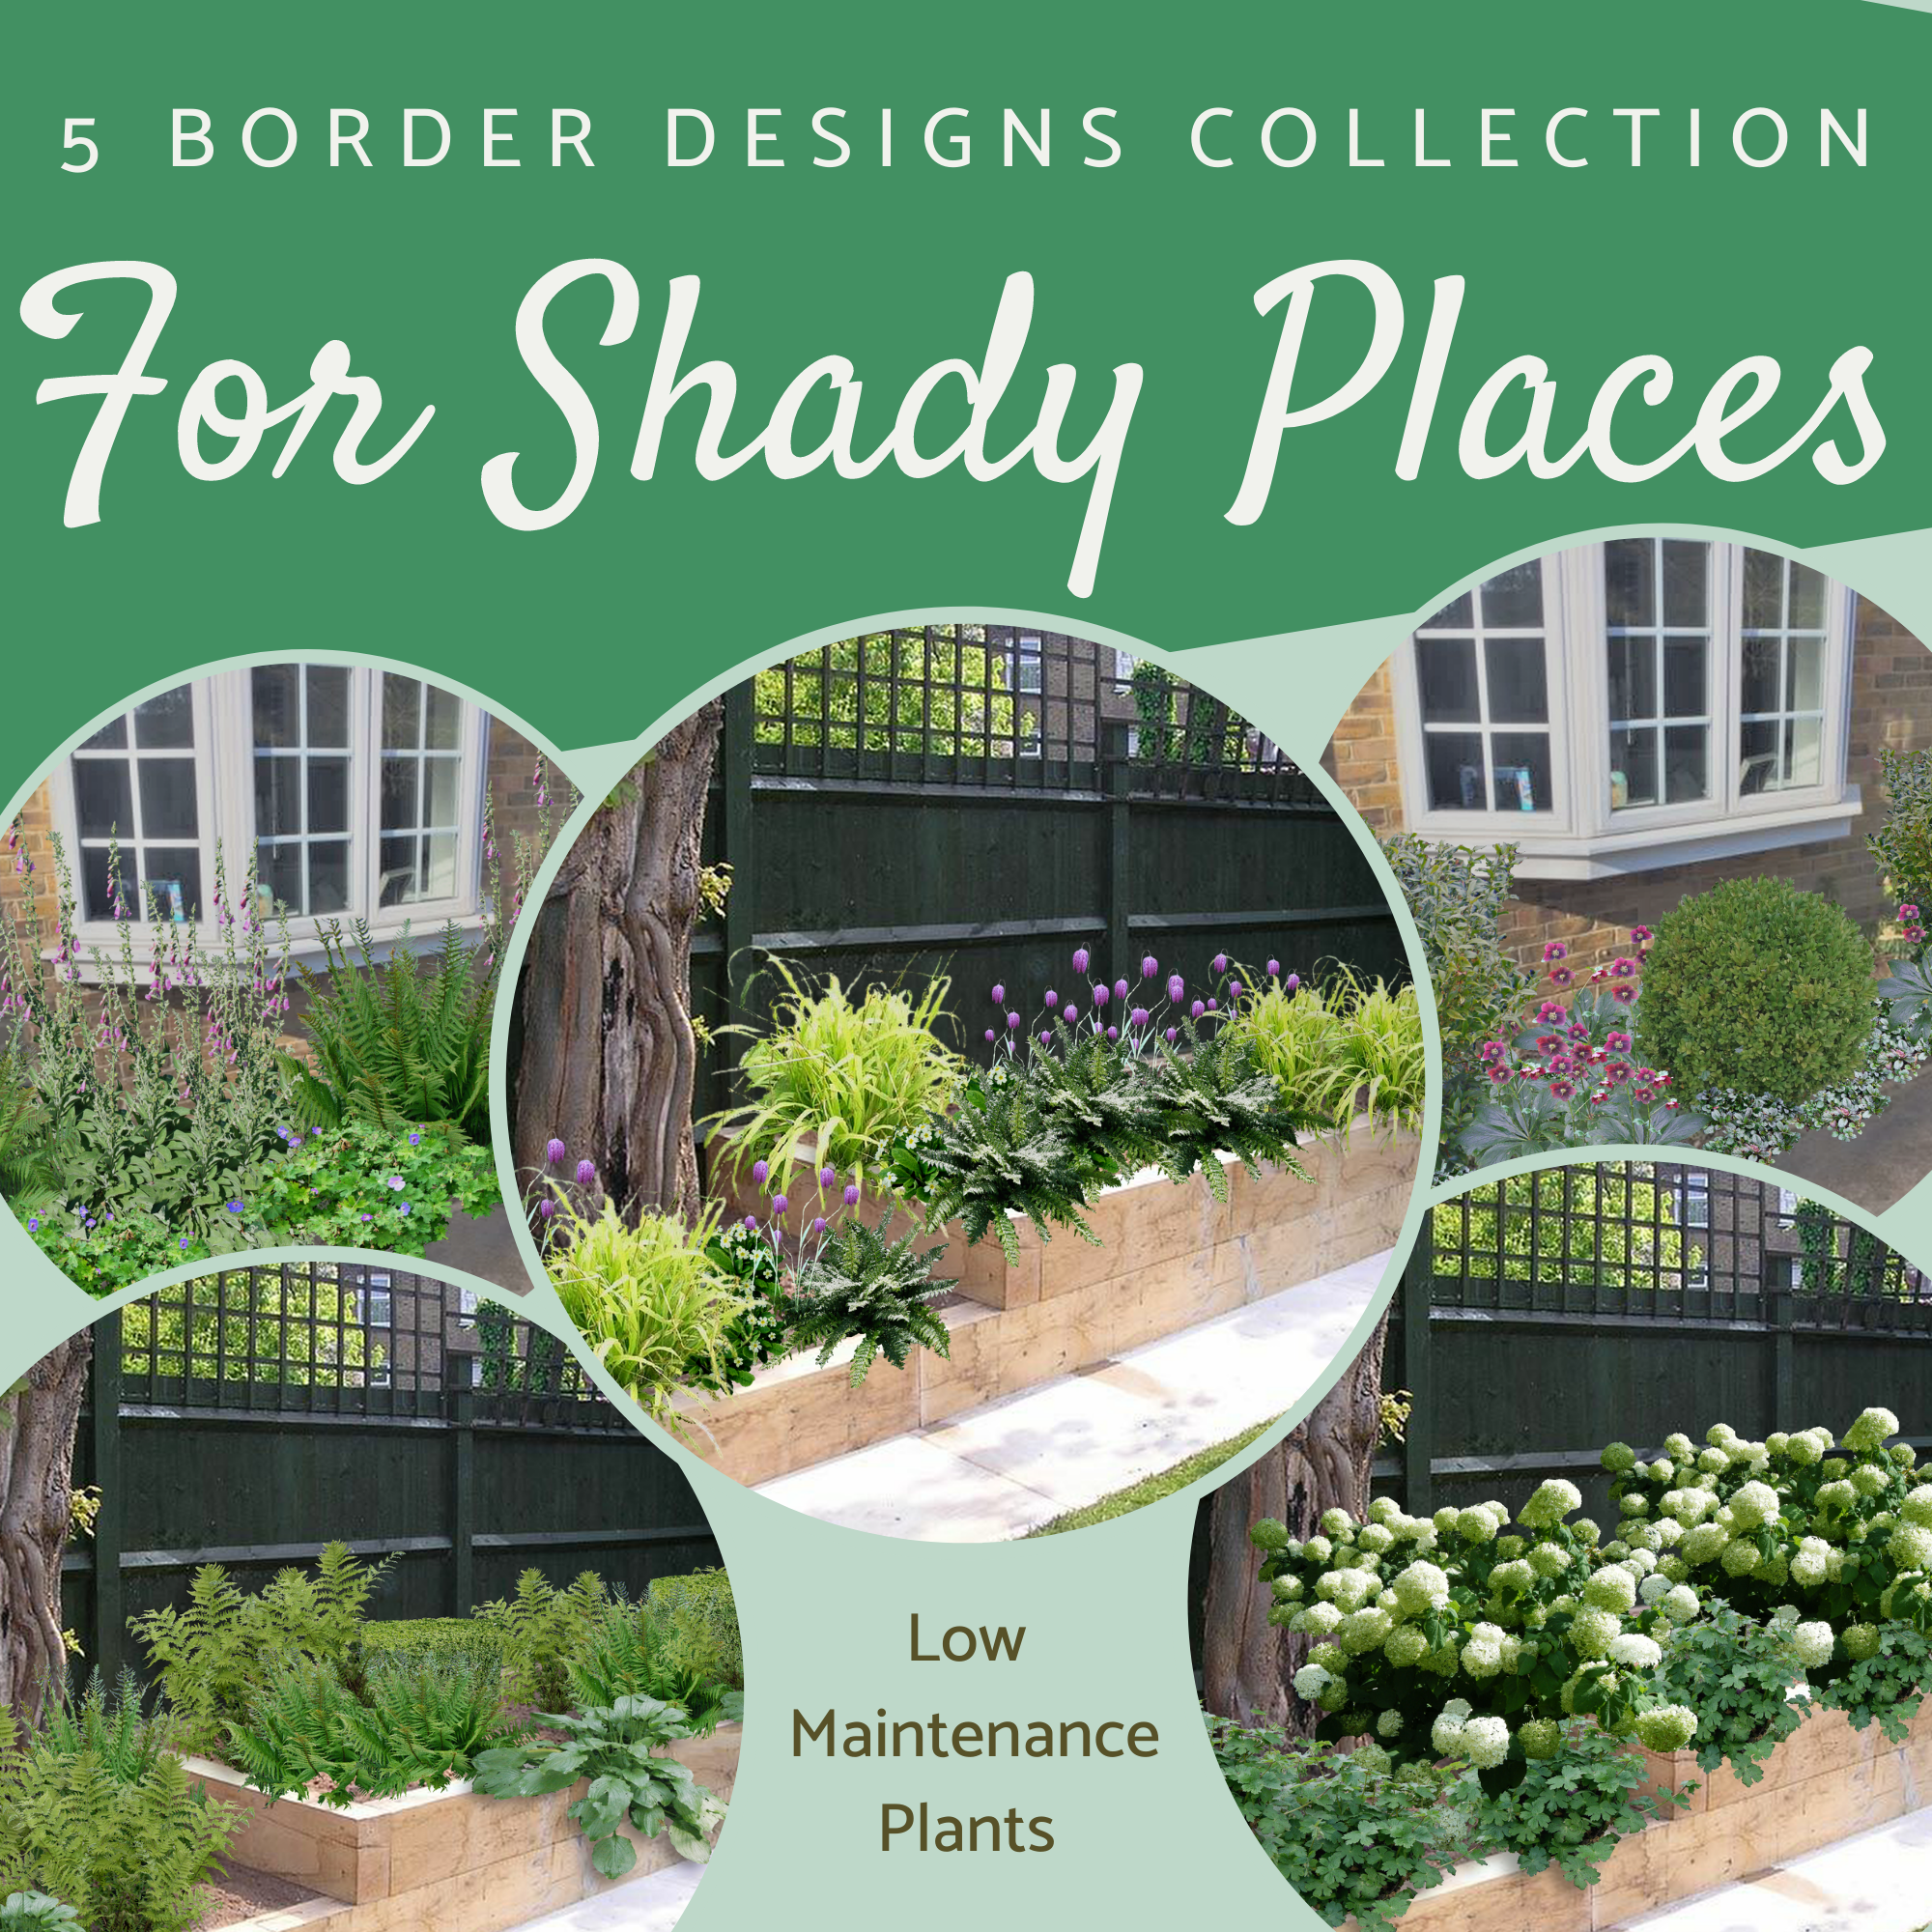
I hope you are reading this article because you are new to gardening or have just got your first ever garden. If so, congratulations, and how exciting for you. This article covers essential gardening tips aimed at getting you started on the right track. Understanding how to prepare the soil for planting, how to plant properly, which tools you really should buy, (and no it’s not a strimmer) and how to weed and water the garden. If you need some extra advice on the layout of the garden, we offer an online service, and we don’t even need to visit the garden!
Use the buttons below to skip to the section you need or watch our design videos
Preparing the Soil
Get the soil right and you get a gorgeous garden!
Soils come in a variety of forms and they can vary even within your own garden too. Soils are described as either acid, neutral or alkali and different plants fare better in certain situations. Digging the soil in the right way will help your garden grow better.
Understanding what your soil is like helps determine what will grow well. Knowing the type of soil and planting to suit lead to a better garden and much less work for you.
You can go out and buy a soil test kit, but use your neighbour’s gardens as a good indicator. Have a look what seems to be growing well in neighbouring gardens; if the plants are thriving there, then the chances are they will thrive in your garden too.
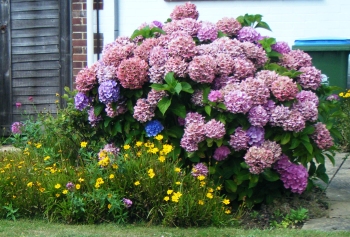
Acid soils tend to favour Rhododendrons, Azaleas Camellias, and also look for Heather growing nearby. Hydrangea flowers go blue in acidic soils, If your natural soil is quite peaty, then this usually indicates the soil is quite acidic too.
Acid-loving plants will not thrive in alkaline soils. Chalky soils are usually more alkaline, but most plants will grow quite happily in alkaline or neutral soils.
Acid or alkaline is only part of the story however, your soils will also have a certain characteristic that dramatically affects whether plants will thrive or limp along, and these soil types need to be looked at.
Generally, they are classed as; poor, sandy, clay, stony, waterlogged and loam. so how do you know what yours is and more importantly, what needs digging into the soil to improve it before planting.
Poor Soils:
These are characterised by a number of factors, they are generally pale in colour. When you dig into the soil it is compact and hard and you generally find very few bugs. In winter it may puddle up and in summer it bakes as hard as concrete.
If you can’t easily push a metal fork into the ground, then most plant roots will struggle to fight their way through too. Add food and fibre to improve things. Fertilise brings much-needed nutrition and fibre to help break up the soil and keep it light and loose. This can be achieved by adding well-rotted manure (food and fibre) or a bought fertiliser to scatter on the surface. To this, you add ground conditioner or soil-improving compost which is a fibrous mix which you work into the soil. Don’t scrimp on volume add a good 10cm layer of manure/compost on the surface and dig this into the ground.
Sandy Soils:
Sand is a very efficient medium for water to drain through very fast, so sandy soils dry out very easily. Even with a heavy shower, the water drains through the soil too quickly for the plant’s roots to get a good drink. Grab a handful of the soil and squeeze it, if it won’t stick together the soil is pretty sandy. It is easy for plants to push their roots through, but then they struggle for water. In this case, add fibre which will absorb moisture and thus allow the roots time to extract the water before it seeps away. Well-rotted manure or compost is ideal for this, so again add a good 10cm thick layer where you want to plant. Lightly fork it in, and the worms will generally do the rest for you.
Stony Soils:
Like sandy soils, water tends to drain away pretty quickly, it is also a real pain to try and dig. If you intend to grow root vegetables, remove as many of the larger stones as you can, otherwise, you will get very wonky carrots. The problem with really stony soils is that stones don’t contain much nutrition for plants, so will struggle to get going. Remove as many of the stones as possible, and add lots of well-rotted compost which will hold onto moisture and provide nutrition to the plants. If you really aren’t able to remove the stones, choose plants that thrive in these types of soils. plants like grasses, lavenders, thymes, and other shallow-rooted plants.
Clay Soils:
This is made up of very tiny particles, which over time settle down to form a compact soil. Clay soils dry out and bake hard in the summer and are a soggy clumpy mess in winter. The problem is the clay particles are so close together that air and water can’t easily pass through. However, clay soils can be quite fertile. You need to do is add a medium to it that will prevent the clay from clumping together. This can be ground conditioner or well-rotted compost. It’s best to add this to the soil in the Autumn or Spring, it is generally easier to dig. Try to avoid digging clay on a wet soggy day – it’s backbreaking and end up in a bit of a quagmire. Keep on adding compost to it each year and you should end up with a beautifully fertile loam.
Waterlogged Soil:
An area that stays damp all Summer but ends up a permanent puddle in winter. There are a few reasons for this, firstly it is in a natural hollow and so collects all the moisture. The water table is high and sits just below the surface or that the soil is so compacted water just cannot drain away easily. Plants can thrive in these conditions, but many won’t as their roots just drown and rot in the water. To improve the soil though you need to concentrate on drainage. Adding horticultural grit in the bottom of planting holes will help the plant sit above the water, failing that, build a raised bed and plant into that.
Loam:
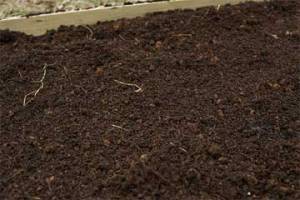
This is what you are trying to achieve, a dark earthy smelling soil with lots of insects and earthworms in it. After you have finished digging, you should be able to push your fork or spade into the soil easily. Try and ensure large clumps of earth are broken up and if possible remove larger stones and any old roots or weeds. Then all is ready to plant.
NB: There are also peat-based soils, but in the UK these tend to be confined to the more remote parts of the countryside, most gardens are unlikely to be purely peat-based, although some soils would tend to be more acidic in areas of the country where peat soils are more common.
Planting Tips for Beginners
Every garden has two environments you need to consider:
The macro-environment deals with where you live and the weather. The microenvironment considers where in the garden the plants are put. It is all about right-plant right-place; consider both and the plants you use will grow as nature intended. Plant in spite of this; and you will spend time and effort ensuring they grow how you want them to!
Planting a garden
This may sound a bit basic, but get it right at the beginning and you will have better results later on.
If planting a larger plant; then dig a hole wider than the pot. Not too deep you want the base of the plant to be at the same depth of soil as it is in the pot.
Then empty a whole watering can of water into the hole and let it drain away. The plant is tipped out of the pot and the roots that coil around the soil are teased out, to encourage them to branch outwards. If the plant needs staking then put the stake or support in then.
Put the plant in the hole, backfill with soil, firm it down and water the soil again. To secure the plant to the stake, tie it in lower down the stem, but don’t tighten the tie too much around the stem as this will stop it from growing properly. Incidentally, there are some plants you plant deep and cover the bottoms of the plant stems in the soil. Clematis is the most common plant you would do this for.
For smaller plants, I make a hole in the ground, water again and let the water drain away. Then pop the plant in, re-firm the soil around it and give it another water at the end. If your soil is well dug, then this is easy with a hand trowel or hand fork.
Planting bulbs:
Nature does not do regimental straight lines or plant zigzags. The result if you do is artificial and in my opinion rather naff. So when armed with a bag of bulbs, grab a handful and then toss them in the air above the general area you want them in. Plant where they fall.
Bulbs should be planted pointy end up. Generally, the rule is that the depth of the hole is about 3 times the size of the bulb – if you plant large bulbs on the surface, then they won’t survive well, they don’t flower well and you have wasted your money.
If your ‘bulb’ doesn’t have a pointy end, then it is probably a corm and these are generally planted just below the surface.
If you are plagued by squirrels, who love digging up and nicking bulbs. Put a layer of chicken wire on the surface and peg it down – which stops them from digging.
Once planted, put a marker there so you remember where the bulbs are or don’t, and be surprised the following year when ‘things’ pop up! Lastly, you plant bulbs in the Autumn, in early Winter for them to flower in the Spring, and in the early Spring for plants to flower from Summer through to Autumn.
Sowing Seeds on the soil:
At the risk of sounding hypocritical, when sowing seeds directly onto soil, sow in short straight lines. This is because once the seedlings start to show, weed seed and your seeds look pretty identical. By sowing in short lines, you can easily identify those you want and those you don’t.
Scrape a small drill in the soil and water the base of the seed drill. Once the water has drained, sow the seeds and gently push the soil back on top of the drill. Don’t then water the soil again to prevent the seeds from being washed out of their lines.
Mark the area
Once the seedlings start to grow, you need to be a bit ruthless and thin them out. This means removing the smaller ones and those that are in little groups. Try to leave an even spacing between each seedling, this allows them to grow better.
As the plants mature, remove those smaller plants again and you should be left with only the most vigorous and healthy ones left. If you don’t thin them out, they all vie for the sunlight and nutrition in the soil and none of them grows as well or as fast as you want.
Plants send out millions of seeds each year, but only a few make it to mature plants. You are only doing what nature does when you nurture the strongest and chuck away the weakest.
Buy the Book
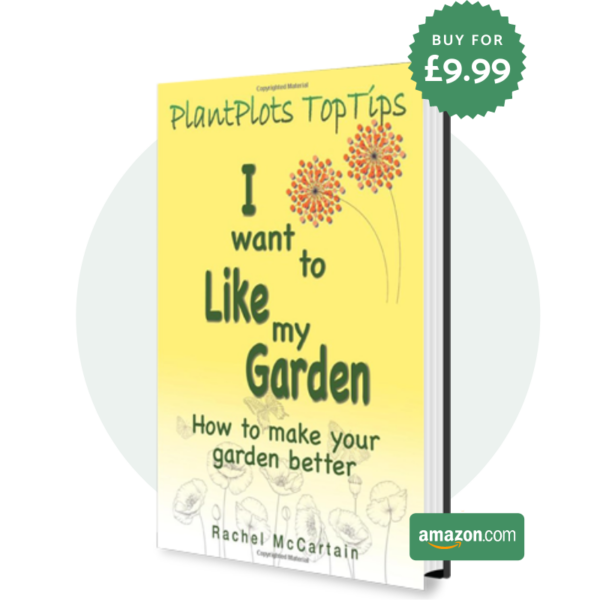
This is possibly the best garden design book you will ever read. It’s written with you in mind, helping first-time gardeners plan, design and plant their gardens. It really is a garden changer (I know bad pun, but it’s a very useful book)
I Want to Like my Garden by Rachel McCartain is available at Amazon and other online bookstores in eBook and Paperback
What Tools do you really Need?
The tools every gardener needs
Secateurs
it is really worthwhile investing in a decent pair, these will be the item you use the most. Make sure it is comfortable in your hand – I am left-handed and daftly, many secateurs are designed for ‘righties’ not ‘lefties’ which is really annoying. They should have a cushioned handle and a scissor action.
A Holster
– for holding said secateurs. Get one that clips over a trouser pocket and you can holster the secateurs when not needed. Once purchased you’ll never garden unholstered again!
A Sharpening Stone
– no fancy sharpening gadgets are required, a basic sharpening stone is all that’s needed and is so much quicker and easier to use than most of modern appliances.
Gloves –
I probably get through 4 pairs a year, but there are 3 types I use a lot. Firstly a waterproof pair, usually of thick enough rubber to stop little thorns getting in, a pair of good heavy duty gloves for general mucking, digging and pruning and lastly I have a pair with padded palms which is wonderfully comfortable when I have a lot of digging or cutting back to do.
Kneeling Pads – waterproof and better for my knees!
Fork & Spade
– try not to buy the cheapest versions, as either the handle snaps or the prongs of the fork bend too easily. You can pick up really good second-hand garden tools which may be another option if funds are tight.
Hand Trowel & Fork
– if I am not holding secateurs, I will be invariably using a small hand fork, making sure the neck of the trowel and fork is strong and doesn’t bend. Also if at all possible, buy one in neon colours – I can’t tell you how many hours I have wasted searching for the blasted thing in the undergrowth with its wooden ( i.e camouflaged) handle! By the way – most gardeners don’t really need power tools! Shears – these are great for chopping back and trimming hedges. If you go ‘manual’ you also benefit from well-toned arms and no ‘bingo-wings’. Make sure the shears can be readjusted and tightened easily, and also make sure there is a shock-absorbing stopper on the handles, your wrists will love you for it. There are lots of other bits you can buy of course, but these are the basics and they will probably be sufficient for nearly everything you need to do in your garden, so now that you are ready to get going, the next job is digging and preparing the soil.
Then there are some useful other tools too
Pruning Saw
– these are short-handled small saws that are designed to cut through branches easily. The best ones can be closed by folding the blade into the handle, penknife style. I also have an old one that I use for cutting through roots in the ground – which is also quite handy.
Edging Shears
– if you have a lawn, these cut the straggly grass bits at the edge of the lawn, and it makes everything look so much neater once done. Again, long handles so you don’t have to bend down, and keep them well sharpened.
Long-Handled Loppers
– if you have any branches thicker than 1cm, then invest in loppers. They take all the strain out of cutting, they are really super strong giant secateurs.
Trug –
I like these buckets as they are flexible easy to carry one-handed and come in lots of bright (easy to find) colours.
More advice on how to garden
Watering & Weeding
Watering:
Having spent money on plants seeds and bulbs, it would be a terrible waste of money if you then let everything die or struggle to get going due to poor or inadequate watering.
This may sound blindingly obvious, but when watering, water the soil and not the plant. It is OK to splash the leaves with water from the hose, I mean we all appreciate a shower, but if you just splash the leaves the plant never gets what is required.
So when watering, count, large pots get a slow count of 20-30, smaller pots get 10-15. Water the soil at the base of the plant. This has two advantages, firstly, enough water gets onto the surface and as such, there is plenty to seep down into the soil before the sun evaporates it.
Secondly, encourage the plant to push its roots deep to find water. If water is sprinkled on the surface, then the water roots will grow up to the surface to find water. This leaves them more susceptible to drought as the soil surface obviously dries out much more quickly.
Water well every week for the first year after planting. Water Pot plants every day, same count, if the weather is sunny and windy and usually once a week, as the weather cools down. For plants in a greenhouse, water in the morning if necessary, but not at night. They sit in cold water and some plants get a bit grumpy at that.
Spend a bit of time getting the ground right, then your plants will thrive with a little extra care at the start – your garden will begin to look fabulous and you will feel rightly pleased with all your efforts.
Weeds
There are 2 simple rules to remember when dealing with unwanted plants
- Don’t let any unwanted plants set seed
Don’t cheat when weeding, dig them out
A weed-filled garden will grow in a variety of ways, but it has one common characteristic and that is weeds grow faster than anything else!
There are the Annual Weeds – these go from seed to fully-fledged seed-producing machine faster than Usain Bolt! To get rid of them, pull up the plant and cut off the seed heads before they ripen.
Then there are the Perennial Weeds – these regrow from the roots. Now some have roots that burrow to the centre of the earth. Some have roots like a plateful of spaghetti – unfortunately, both will regrow from the tiniest piece of root left in the soil.
So removing only the plant above ground is utterly pointless. The plant thinks ‘oops, lost my green top – better send up lots more!’
Using a Rotavator- will make this problem 1000 times worse as each tiny fragment of chopped-up root will also think “hey – got no green top, better regrow one, fast!”
Lastly, there are the weeds you never knew you had….these are the millions upon millions of seeds that are sitting on top of the ground waiting for you to dig over the ground and inadvertently plant them!
- Dig the ground and remove any roots.
- Dispose of the waste at the local tip, not in the compost bin.
- Dig out bulbs and anything else that looks like it may grow, pop these in a pot if you are not sure if it’s a friend or foe, let it grow and see if it’s worth keeping.
- Do not plant anything in the cleared ground for several weeks to let the ‘new’ weeds sprout and get rid of these.
- It is best to tackle the garden clearance in Spring or Autumn then the ground is not baked dry or utterly waterlogged.
Now it may be tempting to reach for the weedkiller to speed things up, however, all weedkillers are pretty noxious chemicals. They may be necessary for some difficult weeds, but try to use them sparingly and only if there is no real alternative.
